The Secrets to Long-Lasting Plaster and Drywall Repairs


Understanding the Basics of Plaster and Drywall
When it comes to home repairs, plaster and drywall are two of the most common materials used in interior walls. Both have their unique properties and require specific techniques for lasting repairs. Understanding these materials is the first step toward achieving durable results.
Plaster is a more traditional material, often found in older homes. It offers a smooth, hard finish and excellent soundproofing qualities. On the other hand, drywall is a modern alternative that is quicker to install and repair, making it a popular choice for contemporary homes.
Preparing the Surface
Proper preparation is crucial for ensuring long-lasting repairs. Start by cleaning the surface to remove any dust, dirt, or loose particles. This step helps the repair material adhere better to the existing wall. Use a damp cloth or sponge for cleaning, and let the surface dry completely before proceeding.
In cases where the wall has significant damage, consider cutting out the damaged section and replacing it with a new piece of drywall. This approach provides a clean slate for your repair work and can help prevent future issues.
Choosing the Right Materials
Selecting the appropriate materials can make a significant difference in the longevity of your repair. For plaster repairs, use a high-quality patching plaster that matches the existing wall's texture and color. For drywall, joint compound or spackle is commonly used. Always follow the manufacturer's instructions for mixing and application.
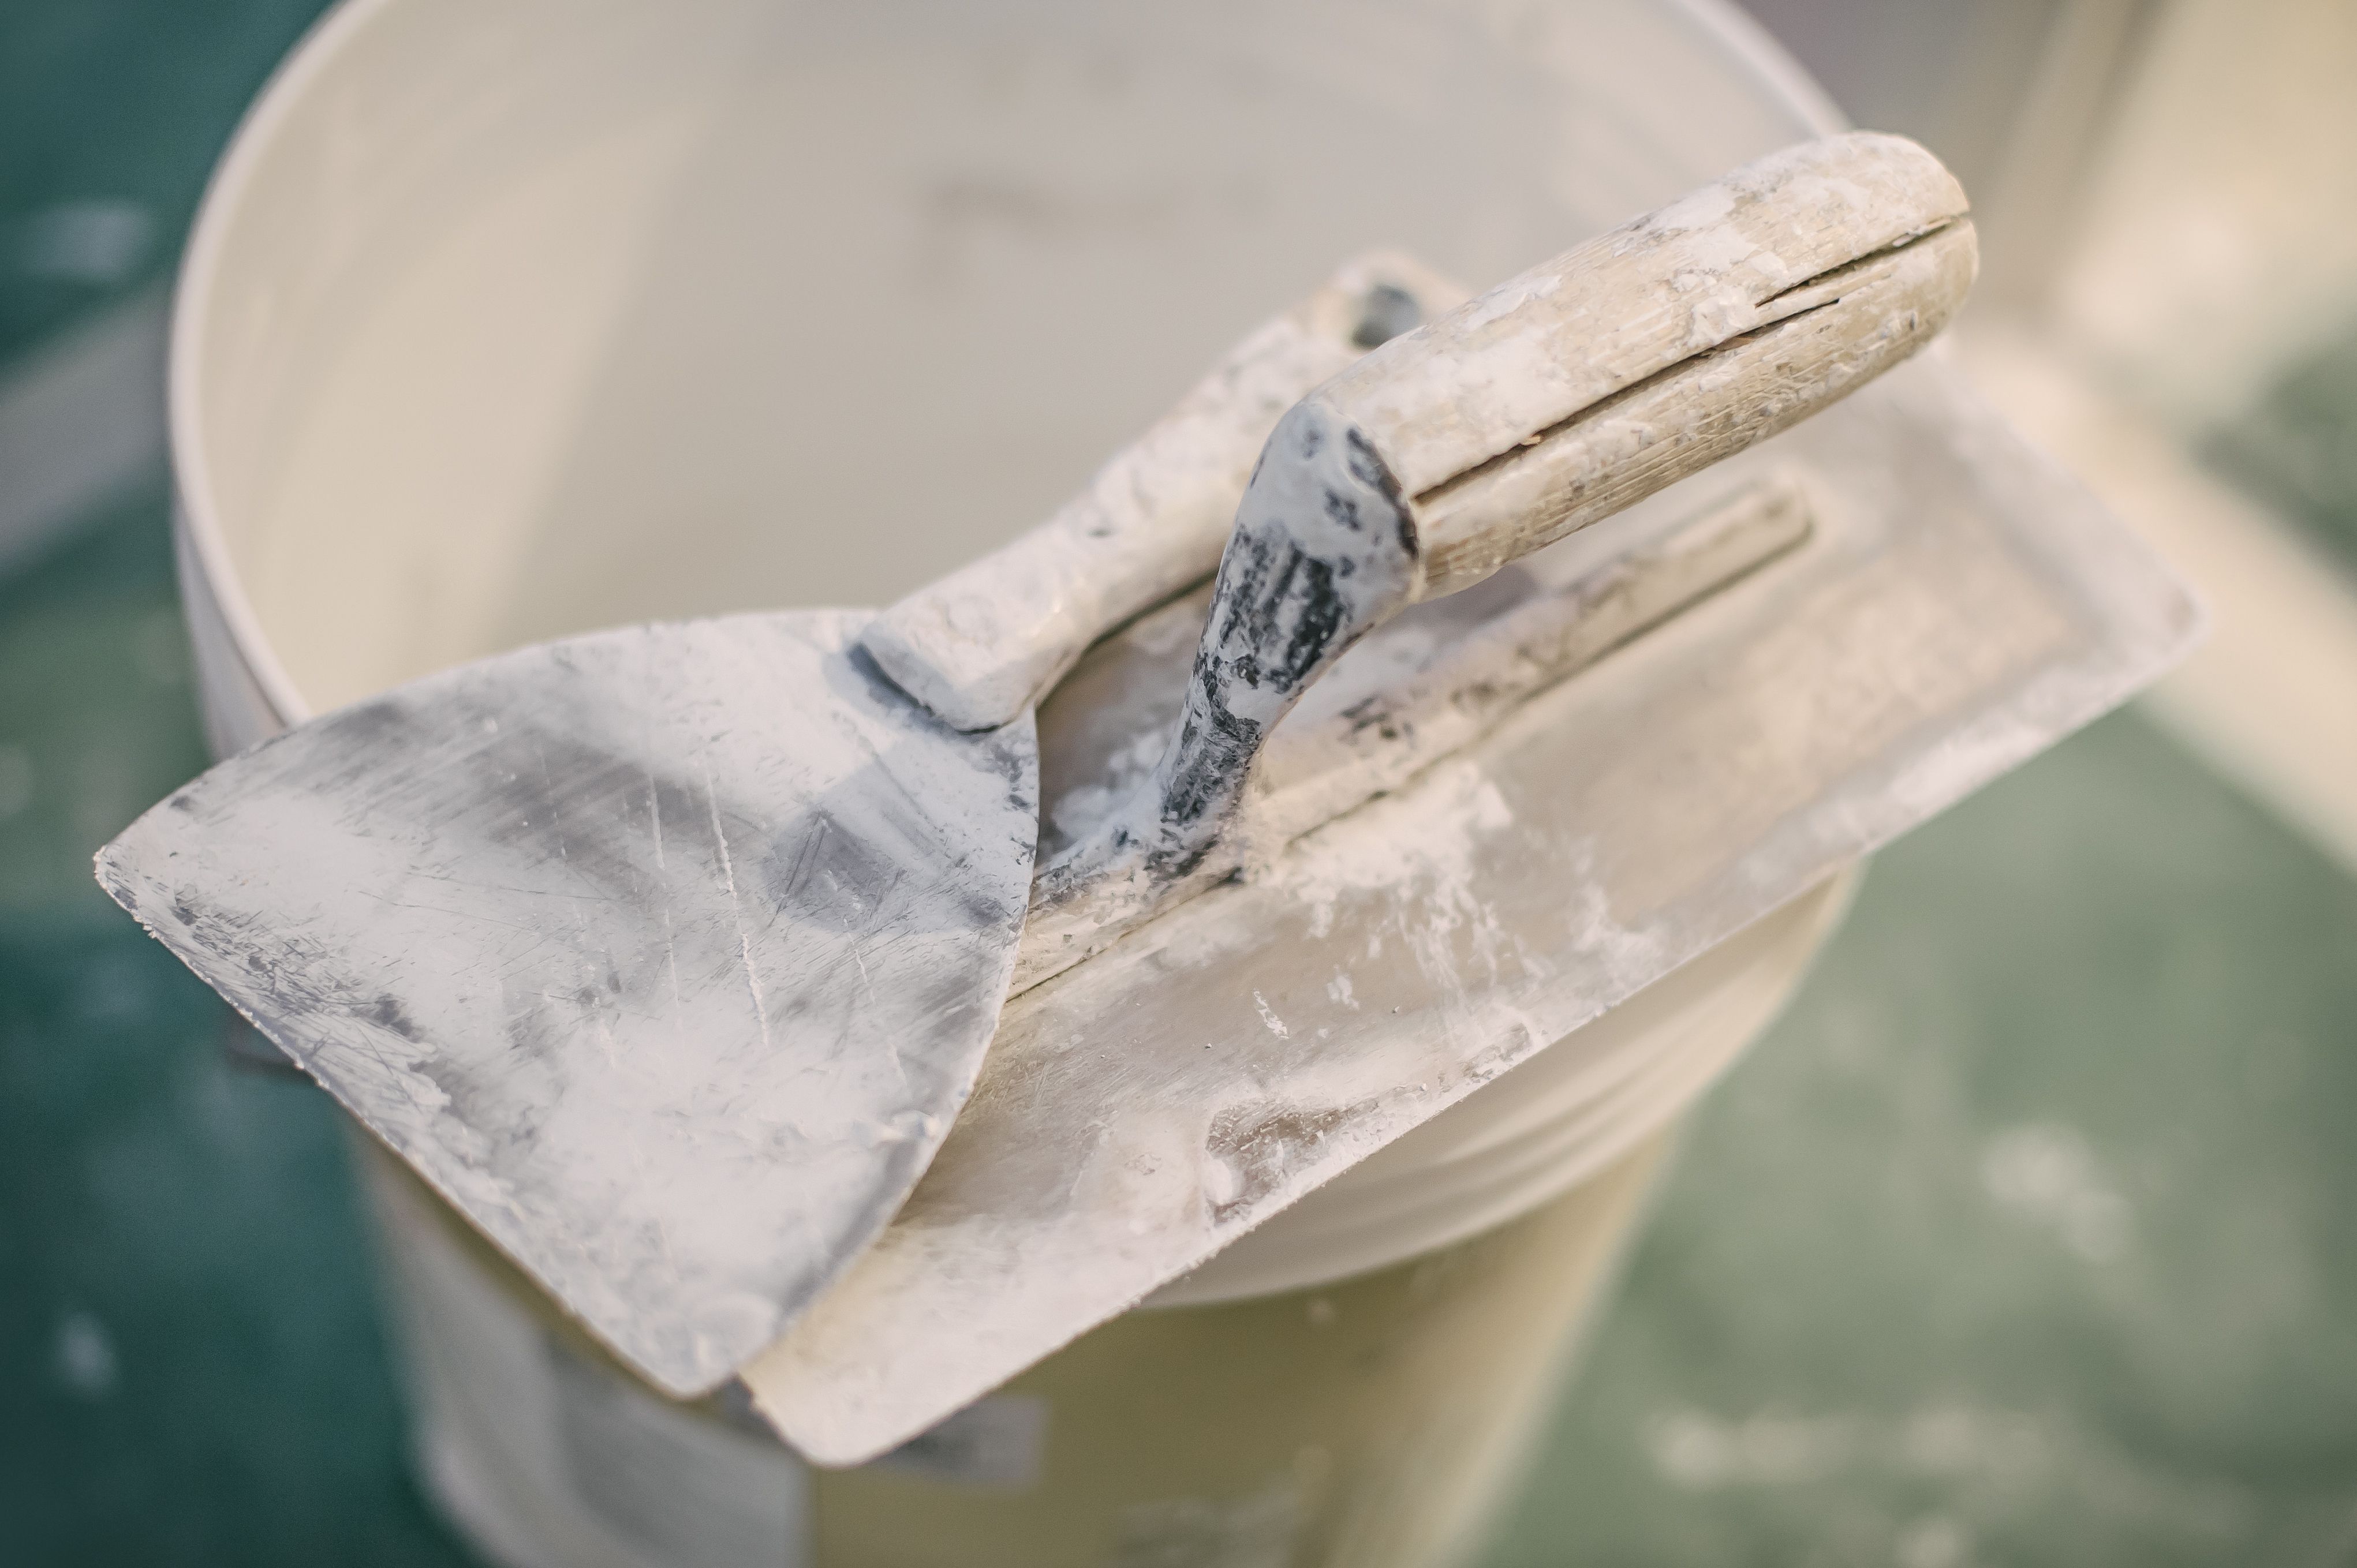
Additionally, invest in quality tools like putty knives, sandpaper, and trowels. High-quality tools can make the repair process smoother and more efficient, leading to better results.
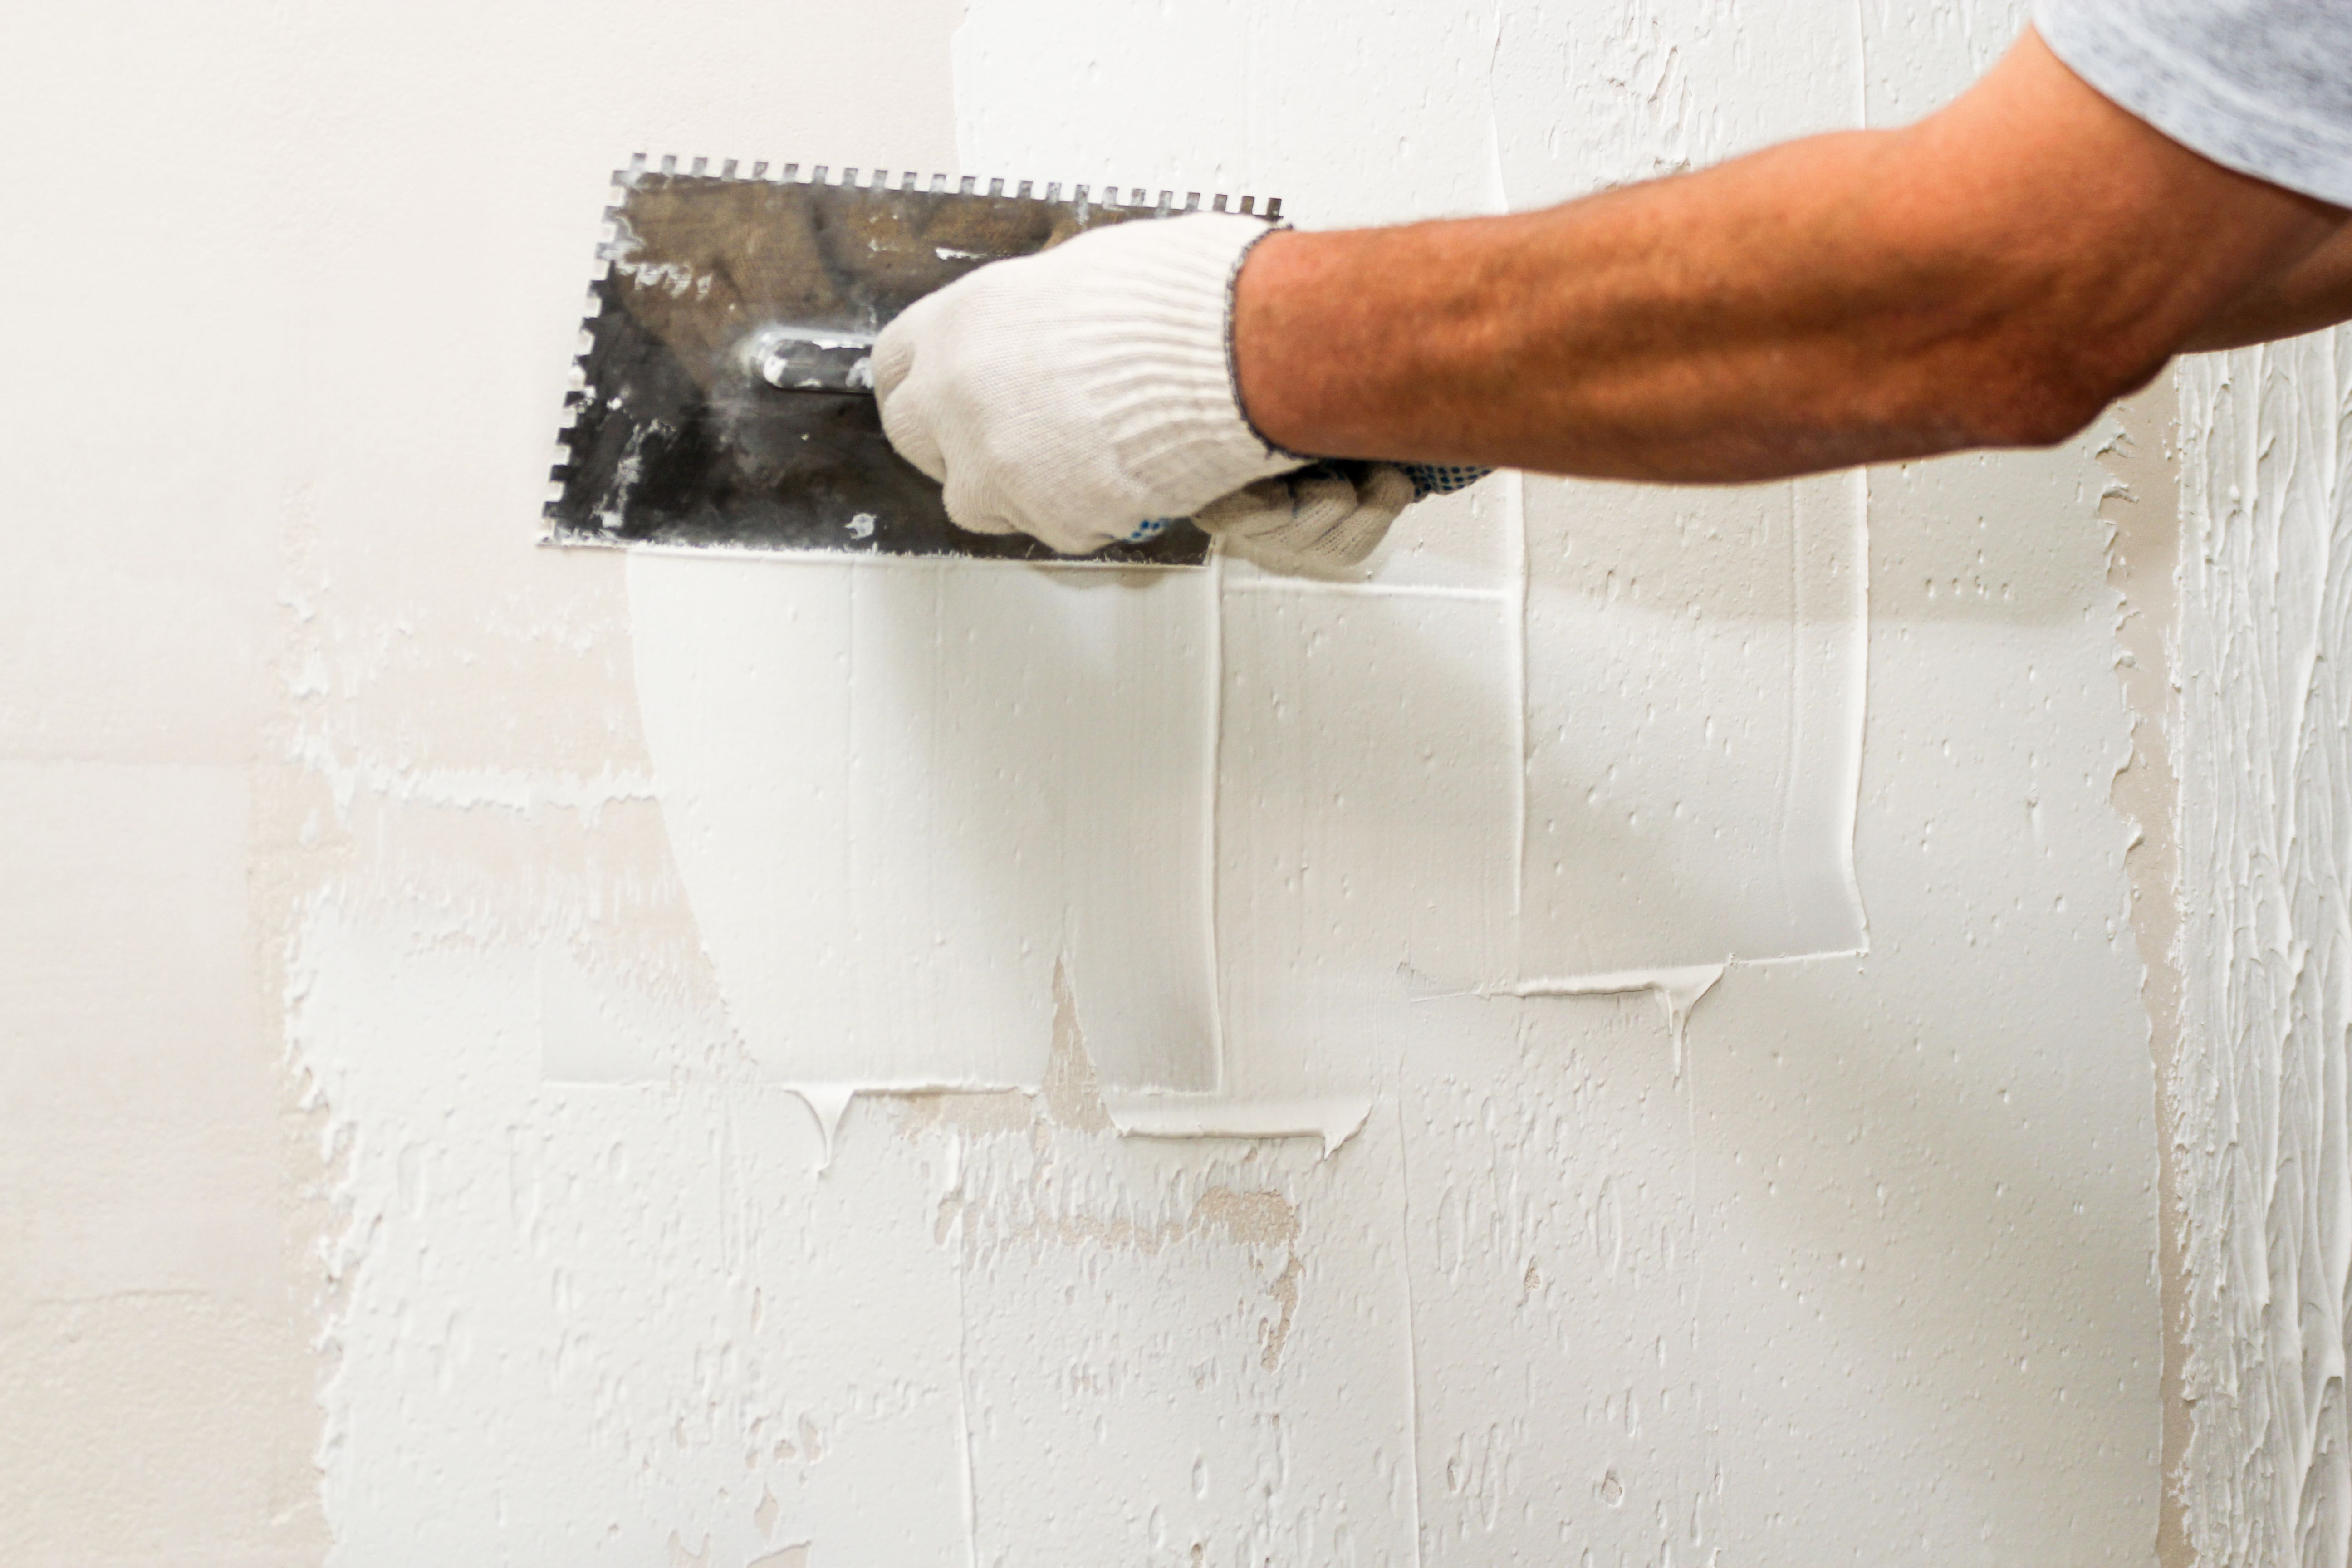
Applying Repairs with Precision
When applying plaster or joint compound, use smooth, even strokes to achieve a seamless blend with the existing wall. For larger repairs, apply multiple thin layers rather than one thick layer. Allow each layer to dry completely before adding the next one.
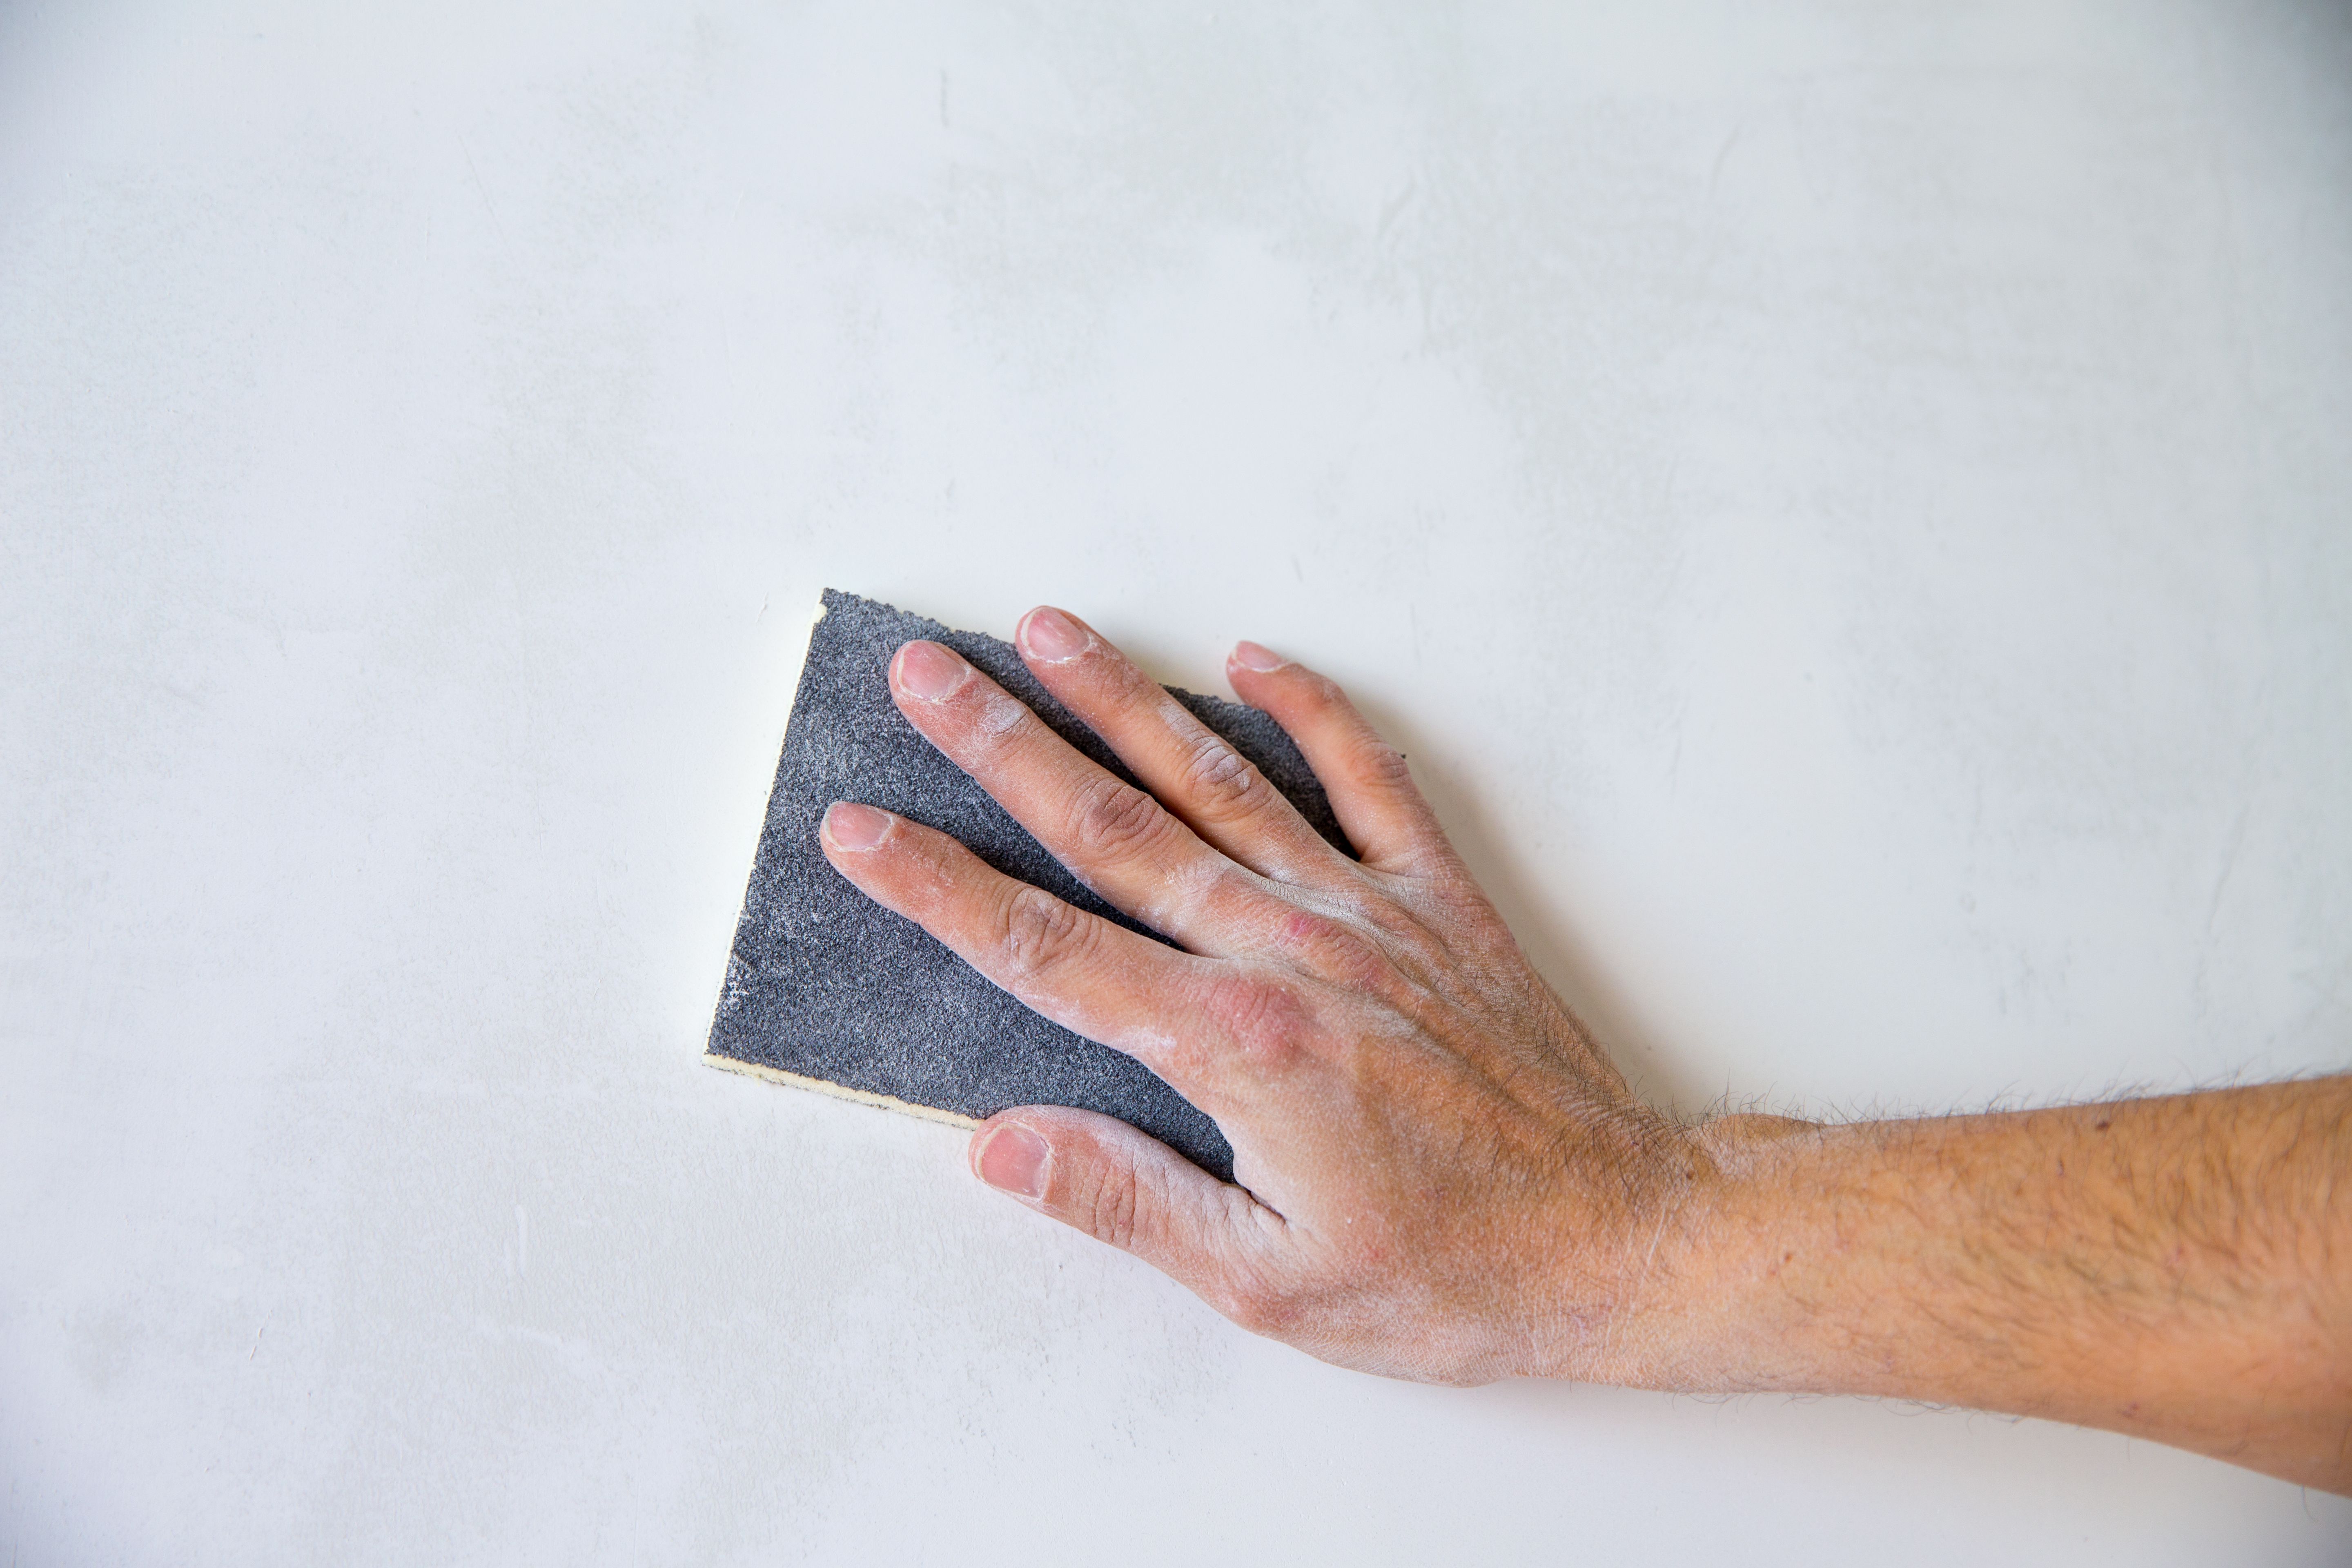
Sanding between layers can help achieve a smooth finish. Use fine-grit sandpaper to avoid damaging the surrounding area. Once the final layer is dry and sanded, wipe away any dust before applying paint or primer.
Sealing and Finishing Touches
After completing the repair, sealing it with primer is essential to enhance durability and ensure paint adhesion. Choose a primer compatible with your wall material and paint type. Once primed, apply paint in thin coats for an even finish.
Consider using a topcoat or sealant for additional protection, especially in high-traffic areas or rooms with moisture exposure, like bathrooms or kitchens.
Regular Maintenance
To extend the life of your repairs, regular maintenance is key. Check walls periodically for signs of wear or damage, such as cracks or peeling paint. Addressing these issues early can prevent more extensive repairs down the line.
By taking these simple steps, you can maintain the integrity and appearance of your walls for years to come, ensuring your home remains beautiful and structurally sound.