Preparing Your Home for Interior Painting: A Step-by-Step Guide


Why Proper Preparation is Key
Preparing your home for interior painting is an essential step that ensures a smooth and professional finish. Skipping this stage can lead to unsightly results and a lot of frustration. By taking the time to prep your space, you can save time and avoid headaches during the painting process. A well-prepared room also helps the paint adhere better and last longer.

Gathering the Necessary Supplies
Before you begin, gather all the supplies you'll need for preparation. Some essential items include:
- Drop cloths or plastic sheeting to protect floors and furniture
- Painters tape to ensure clean edges
- Sandpaper or sanding block for smoothing surfaces
- Spackle or joint compound for patching holes
- A ladder to reach high areas
Clearing the Room
The first step in preparing for interior painting is to clear the room of any furniture and decor. This not only prevents accidental spills or damage but also provides ample space for you to work. If moving large pieces isn’t feasible, gather them in the center of the room and cover them with drop cloths or plastic sheeting.
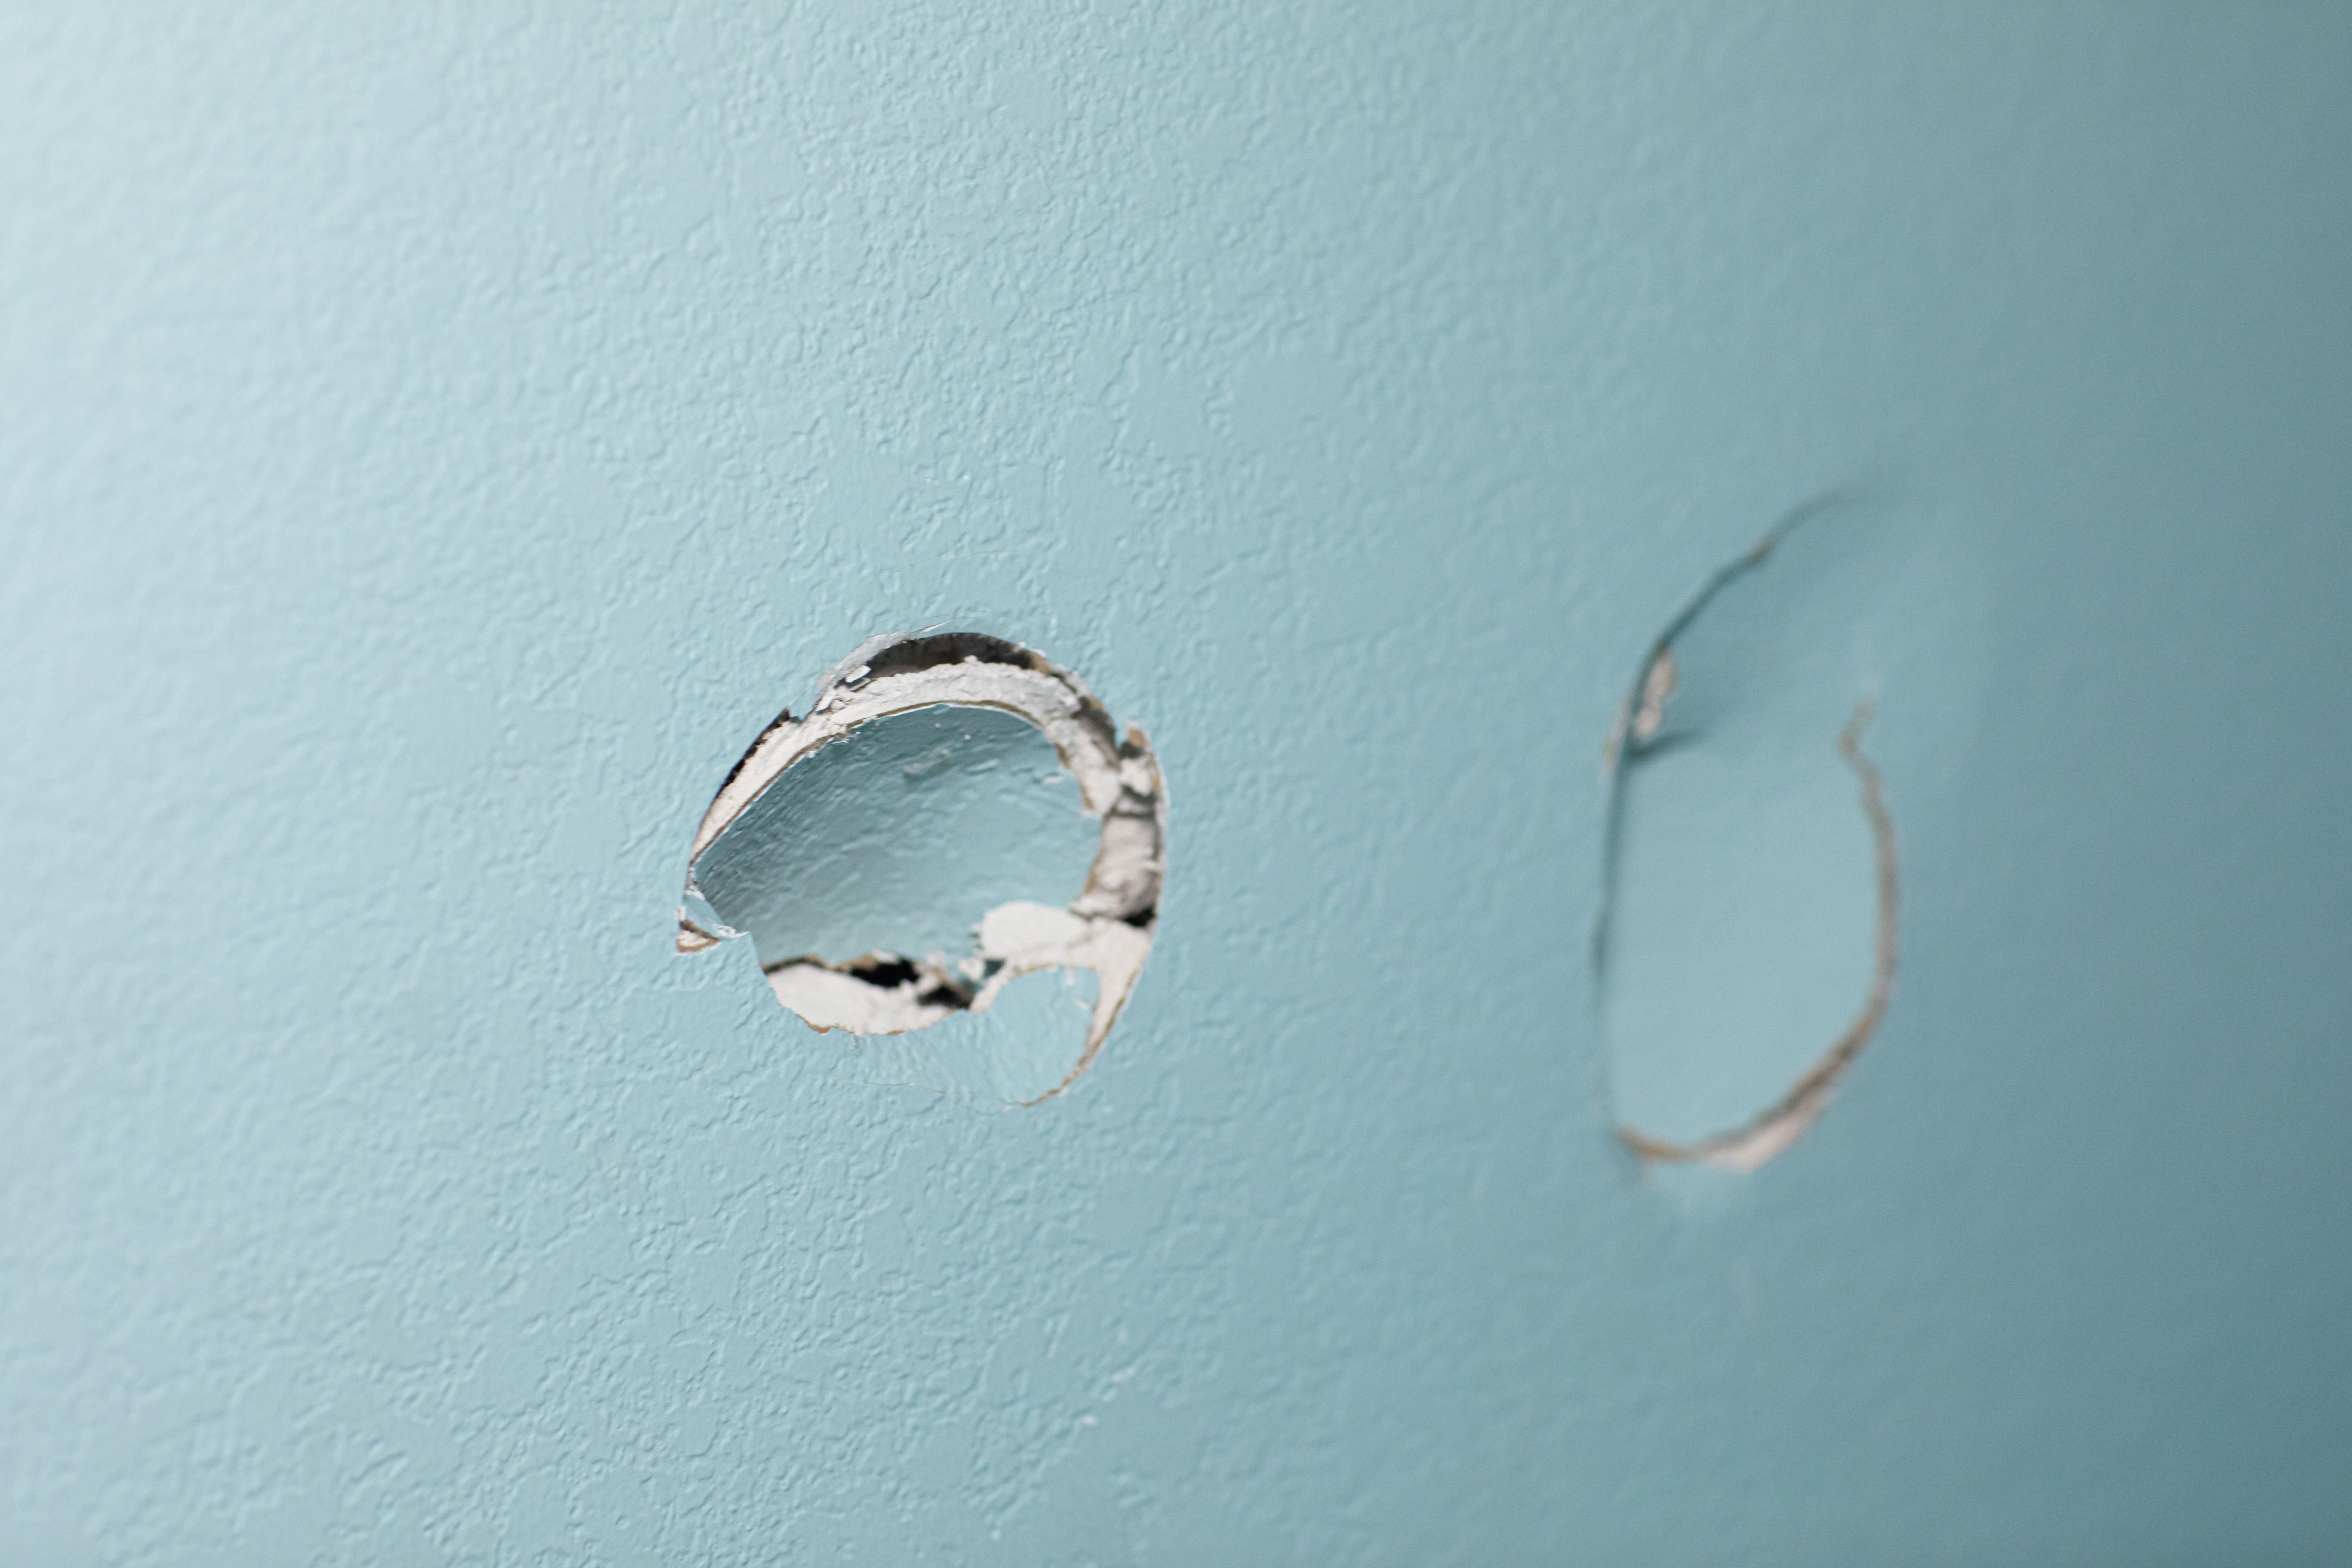
Cleaning and Repairing Surfaces
Clean walls and surfaces thoroughly to remove dust, dirt, and grease. Use a mild detergent solution, especially in kitchens where grease build-up is common. Once clean, inspect the walls for any holes or cracks that might need repair. Use spackle or joint compound to patch these imperfections, then sand them smooth once dry.
Sanding for a Smooth Finish
Sanding is a crucial step that ensures a smooth surface for painting. Use fine-grit sandpaper to gently buff away any rough patches or glossy areas where the paint might not adhere well. After sanding, wipe down the surfaces with a damp cloth to remove any dust particles.
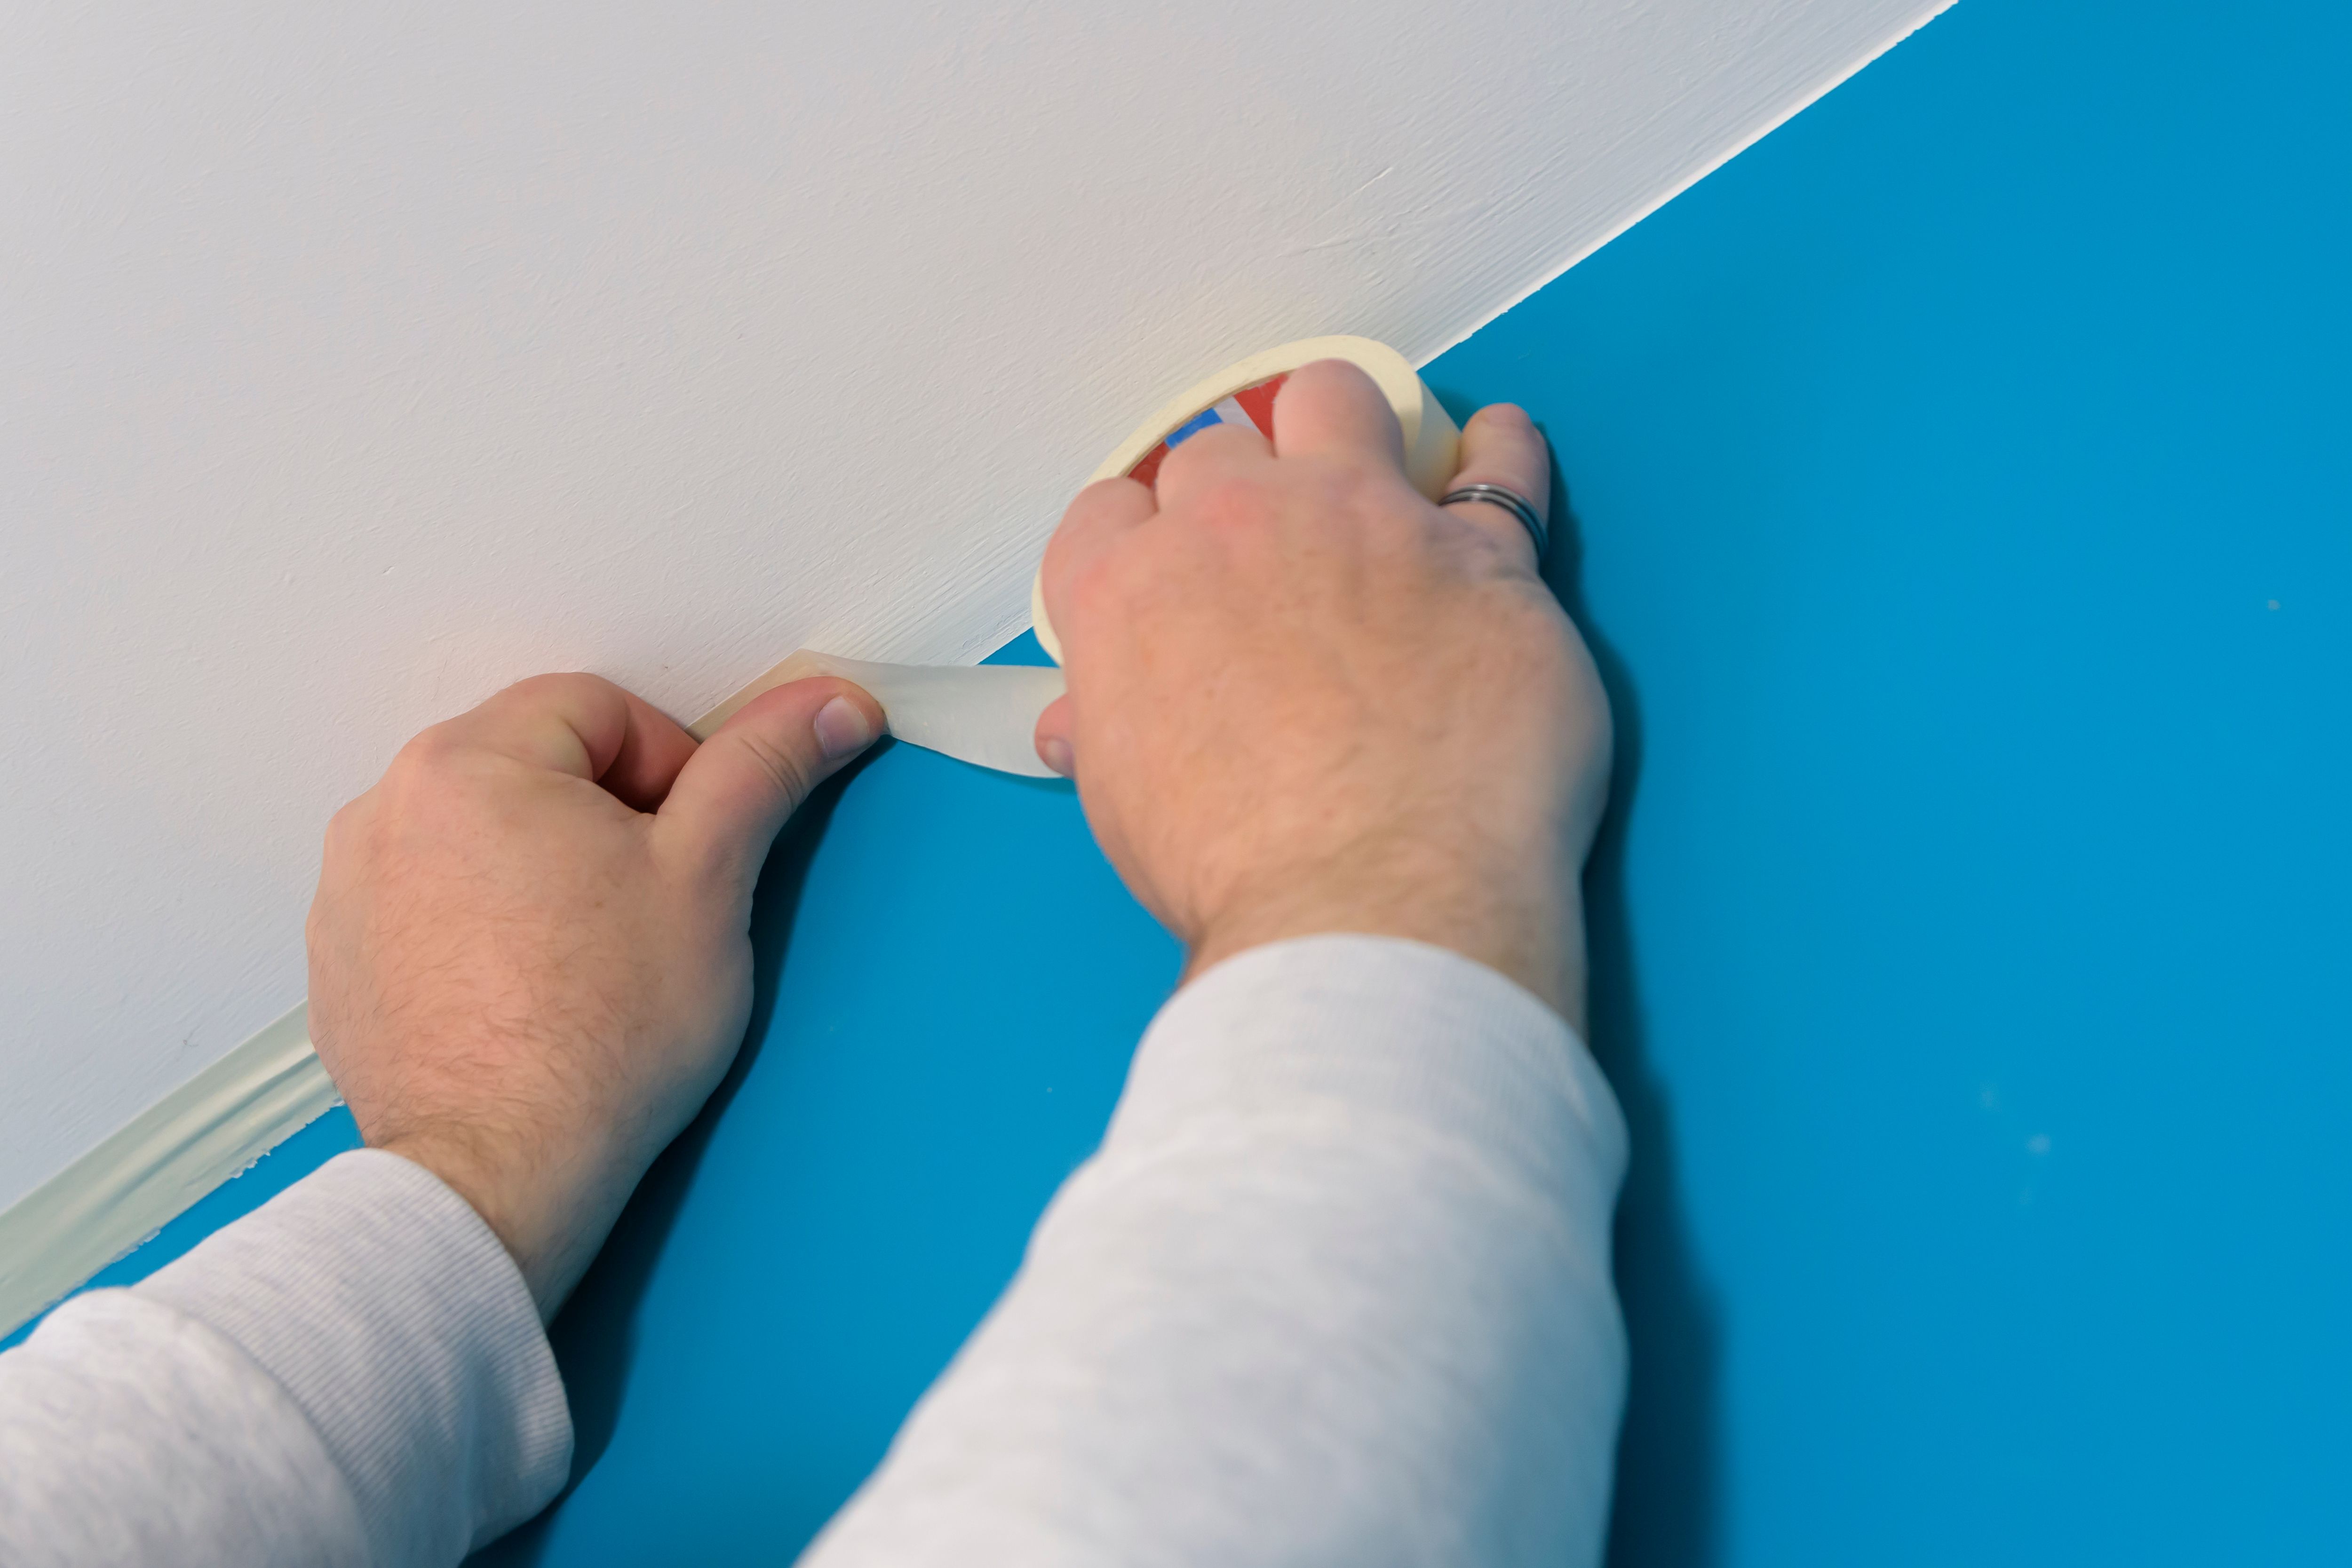
Applying Painters Tape
Apply painters tape around edges, trim, and any areas that you want to keep paint-free. This step is vital for achieving straight lines and a professional look. Press down on the tape firmly to prevent paint from seeping underneath.
Priming the Walls
If you’re painting over a dark color or newly repaired areas, applying a primer is essential. Primer helps to create an even base that enhances paint adhesion. Choose a high-quality primer that’s suitable for your wall type and let it dry completely before moving on to painting.
Final Checks Before Painting
Before you start painting, do a final check of your space. Ensure all repairs are smooth, surfaces are clean, and everything is well-protected. Double-check your supplies to make sure everything is within reach. Taking these precautionary steps will ensure a seamless painting experience.
By following these preparation steps, you'll set yourself up for success and enjoy beautifully painted interiors that enhance your home's aesthetic appeal. Happy painting!