DIY Interior Painting Tips for Scarborough Residents: A Beginner's Guide


Preparing Your Space
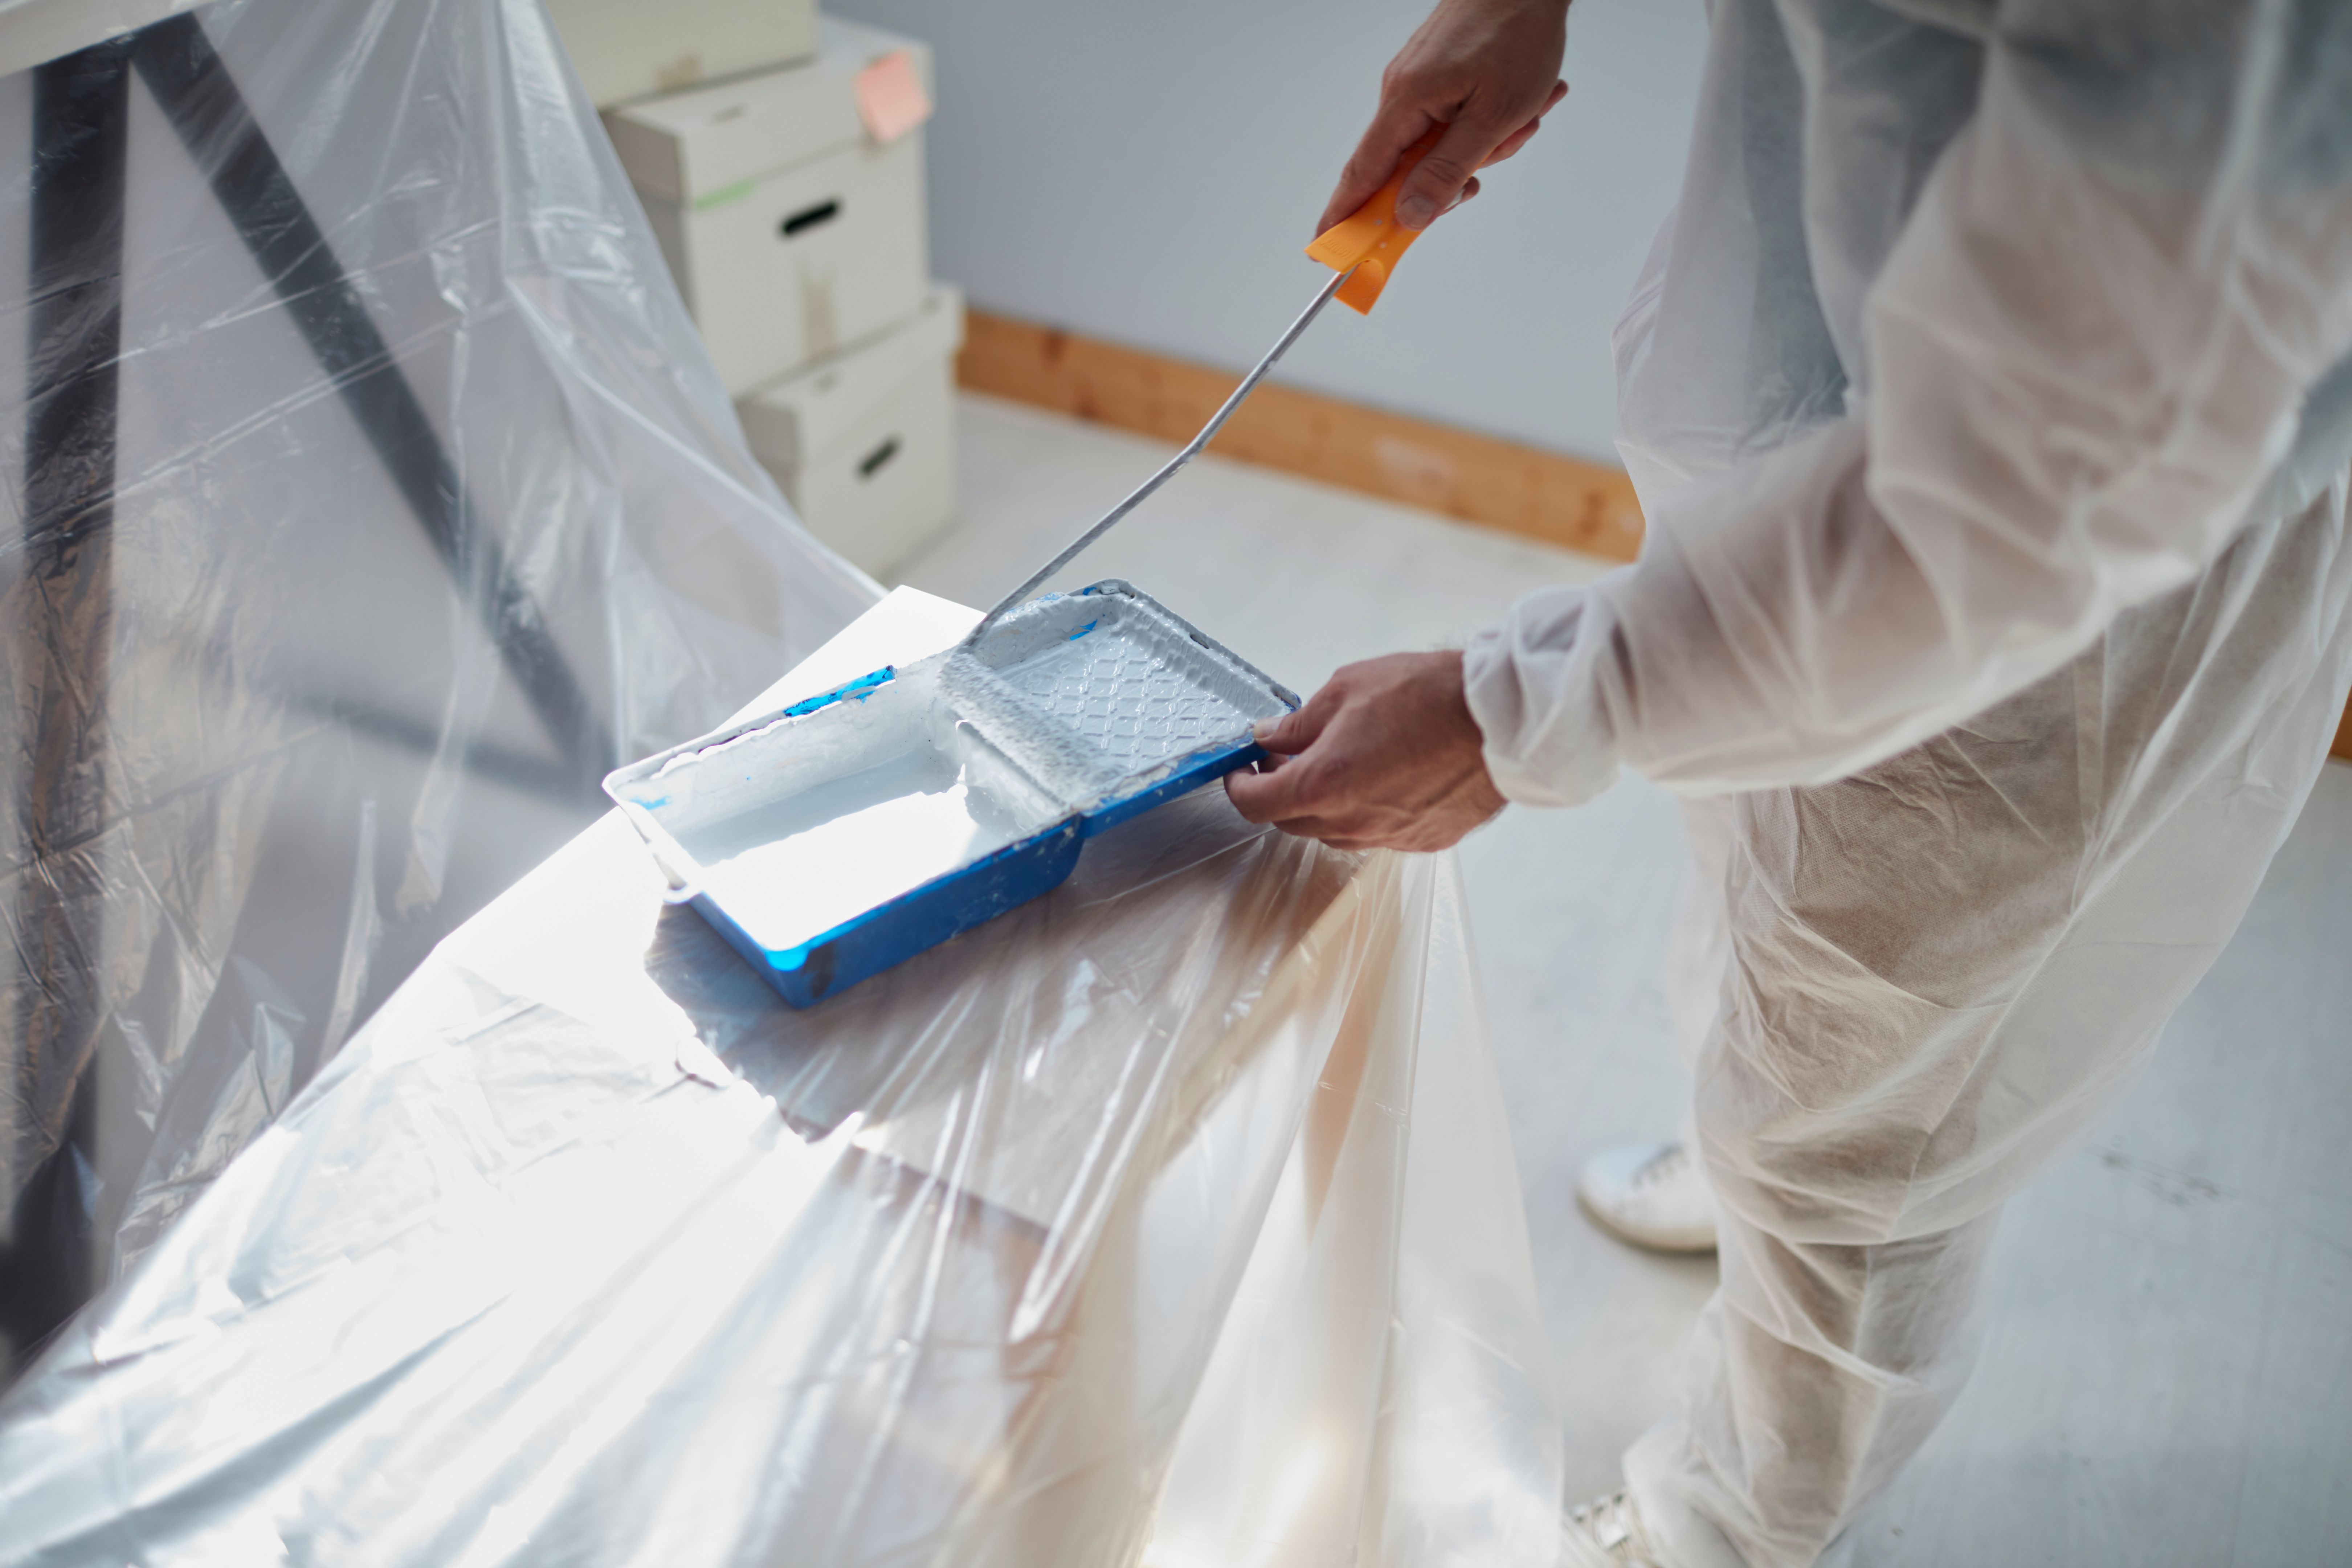
Before you begin painting, it's essential to prepare your space properly. Start by removing all furniture or covering it with drop cloths to protect it from paint splatters. Ensure you've also removed any wall hangings, switch plates, and outlet covers.
Next, clean the walls to remove any dust or grease that might prevent the paint from adhering correctly. A simple solution of water and mild detergent should do the trick. Once the walls are clean and dry, you can proceed to patch any holes or imperfections with spackling paste.
Choosing the Right Tools and Paint
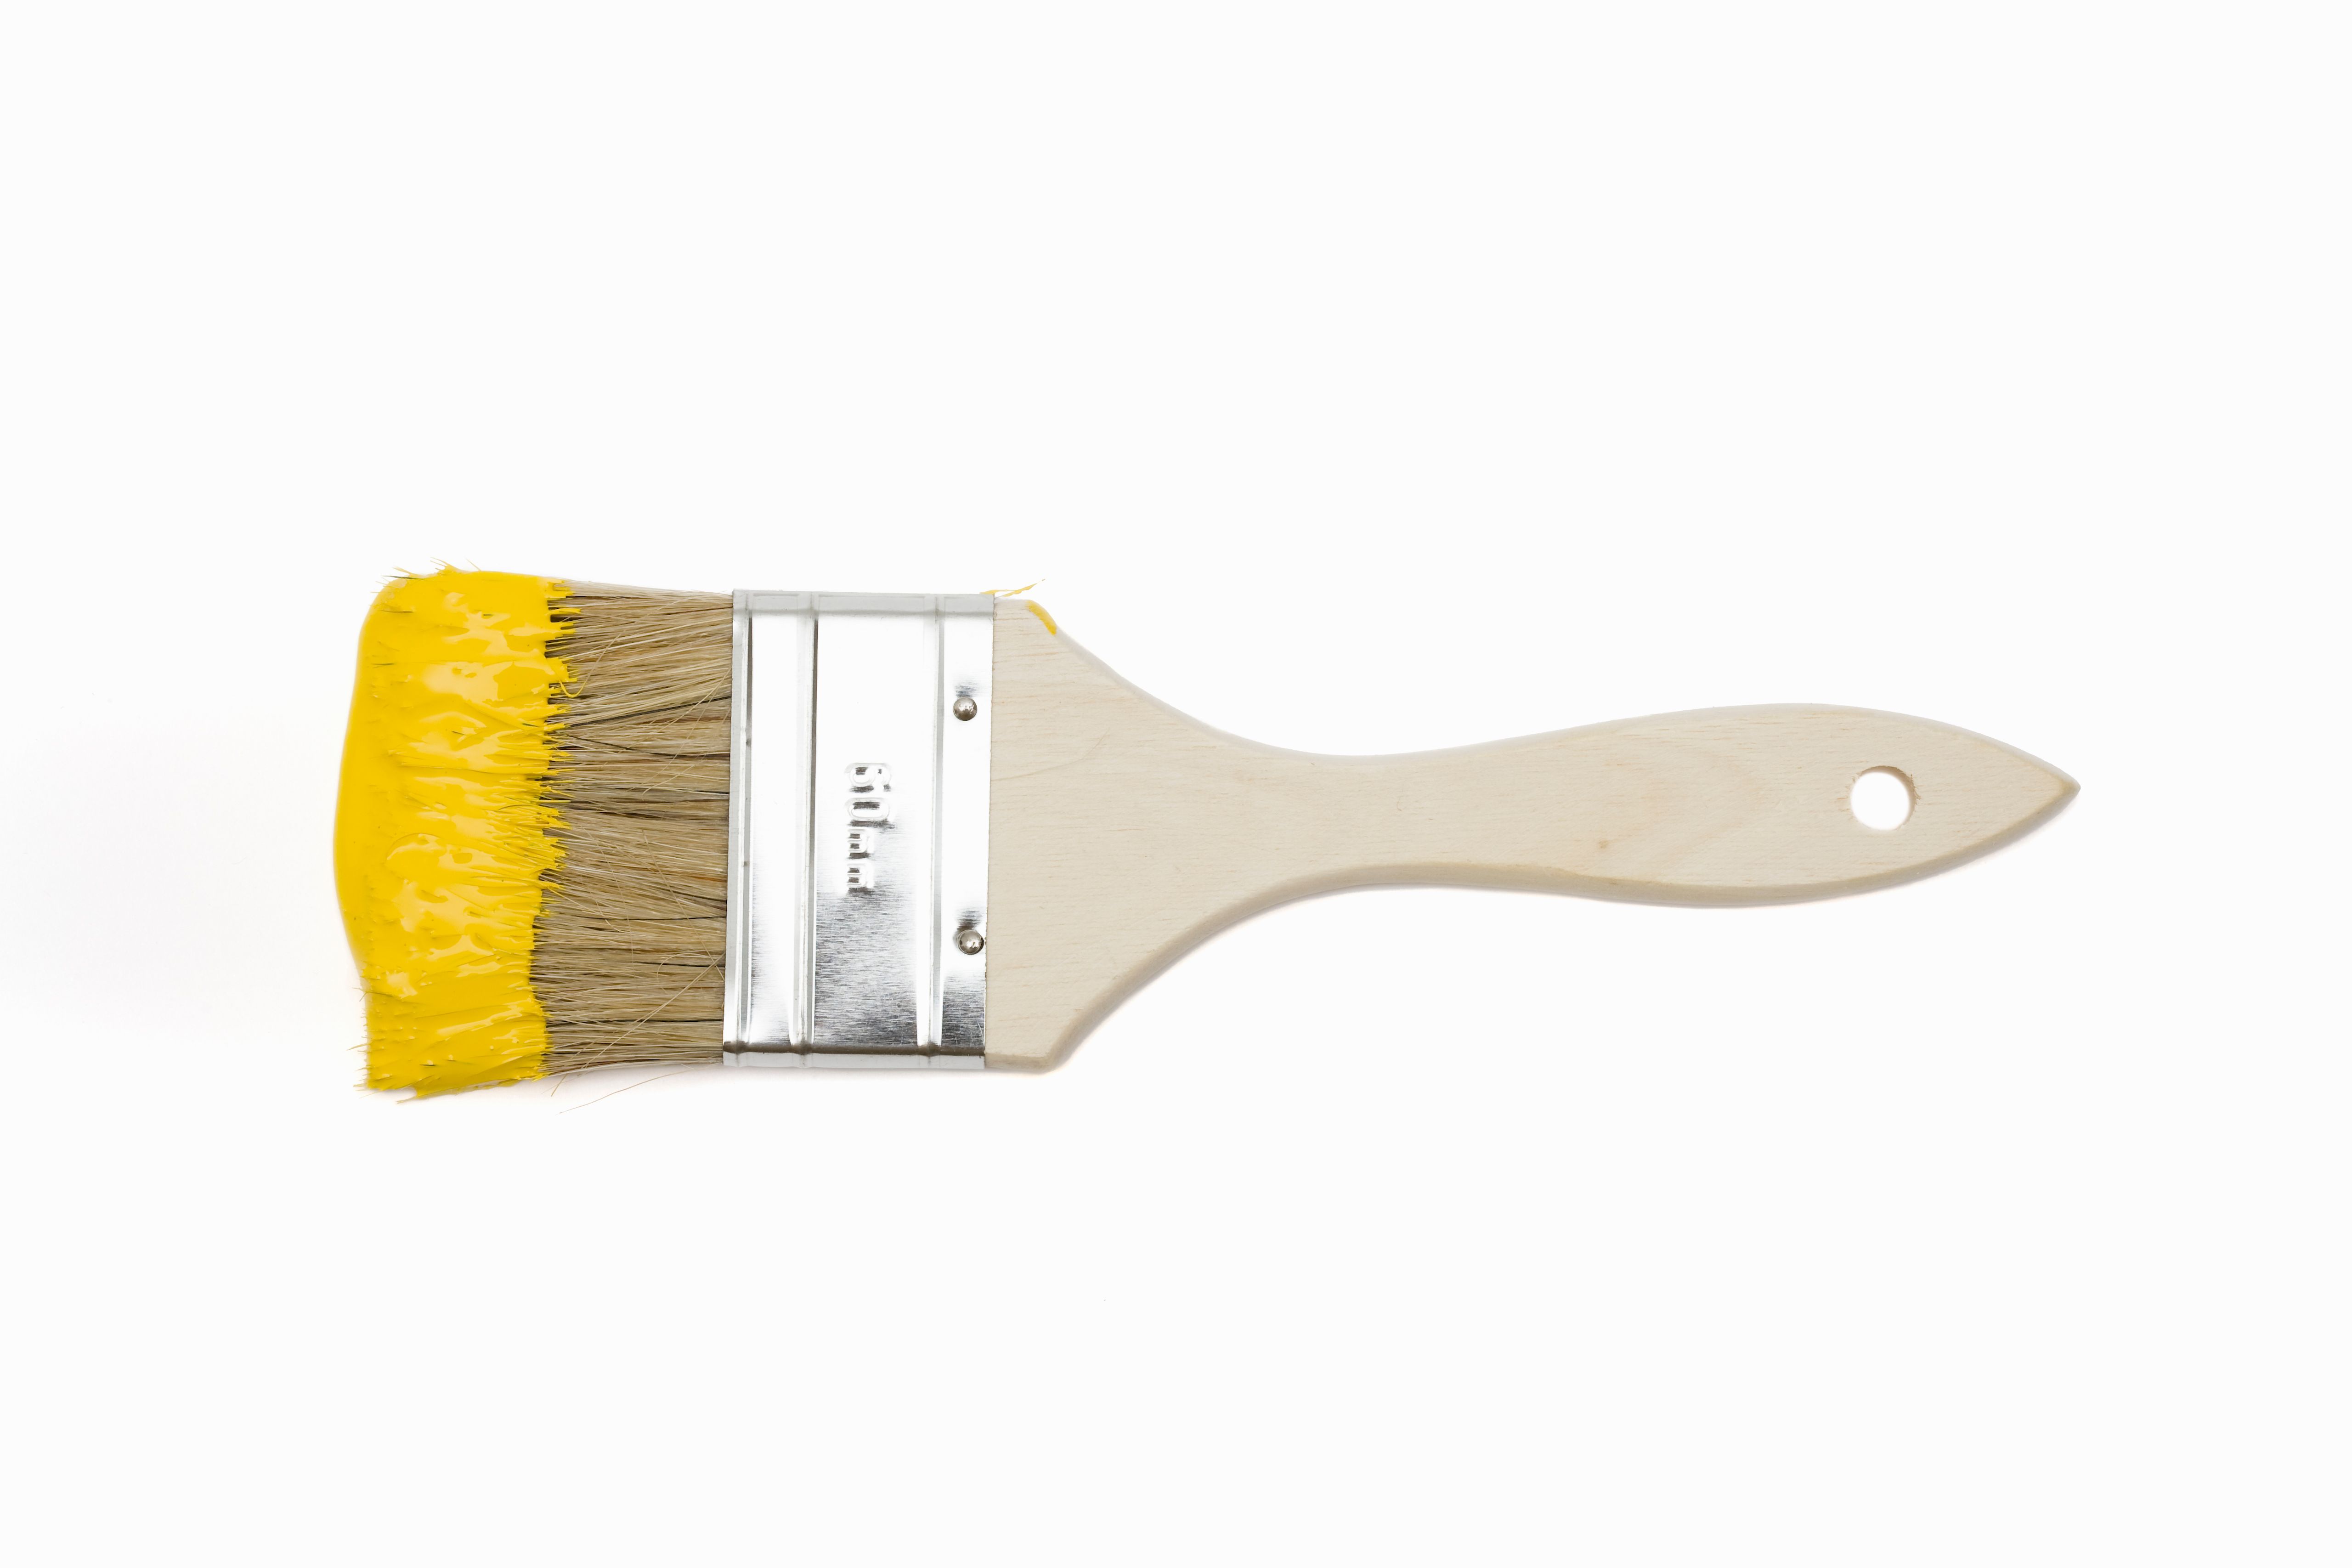
Selecting the right tools is crucial for a smooth painting process. Invest in high-quality brushes and rollers that are suitable for the type of paint you're using. If you're unsure, ask for recommendations at your local hardware store.
When it comes to choosing paint, consider both the color and finish. For high-traffic areas like hallways and kitchens, opt for a durable, washable finish. In contrast, a matte or eggshell finish might be more suitable for bedrooms and living rooms.
Mastering the Painting Technique
Once your space is prepped and you've gathered all necessary materials, it's time to start painting. Begin by cutting in—painting the edges and corners of the walls with a brush before using a roller. This technique ensures clean lines and even coverage.
When using a roller, work in small sections and use a W-pattern to distribute the paint evenly. Be sure not to overload your roller with paint to avoid drips and uneven application.
Tackling Common Painting Challenges
Even with careful preparation, you might encounter some common painting challenges. For example, if you notice streaks or lap marks, it could be due to applying too little paint. Ensure your brush or roller is adequately loaded with paint for each stroke.
If you find that your chosen color looks different on the walls than expected, lighting might be the culprit. Always test paint samples on the wall and observe them at different times of the day to get an accurate sense of the color.

Finishing Touches
After the paint has dried, it's time to focus on finishing touches. Remove any painter's tape gently to avoid peeling off fresh paint. You may need to touch up some areas if the tape has removed any paint.
Reattach any switch plates, outlet covers, and wall hangings once you're satisfied with the coverage. Finally, return your furniture to its rightful place and enjoy your newly refreshed space.
Maintaining Your Painted Walls
To keep your walls looking pristine for as long as possible, regular maintenance is key. Dust your walls periodically and wipe down high-touch areas with a damp cloth to remove fingerprints and smudges.
If you notice any chips or scratches over time, keep leftover paint on hand for easy touch-ups. Simply clean the area and use a small brush to apply a thin layer of paint.
