DIY Guide: Preparing Your Home for a Fresh Coat of Paint


Assess the Condition of Your Walls
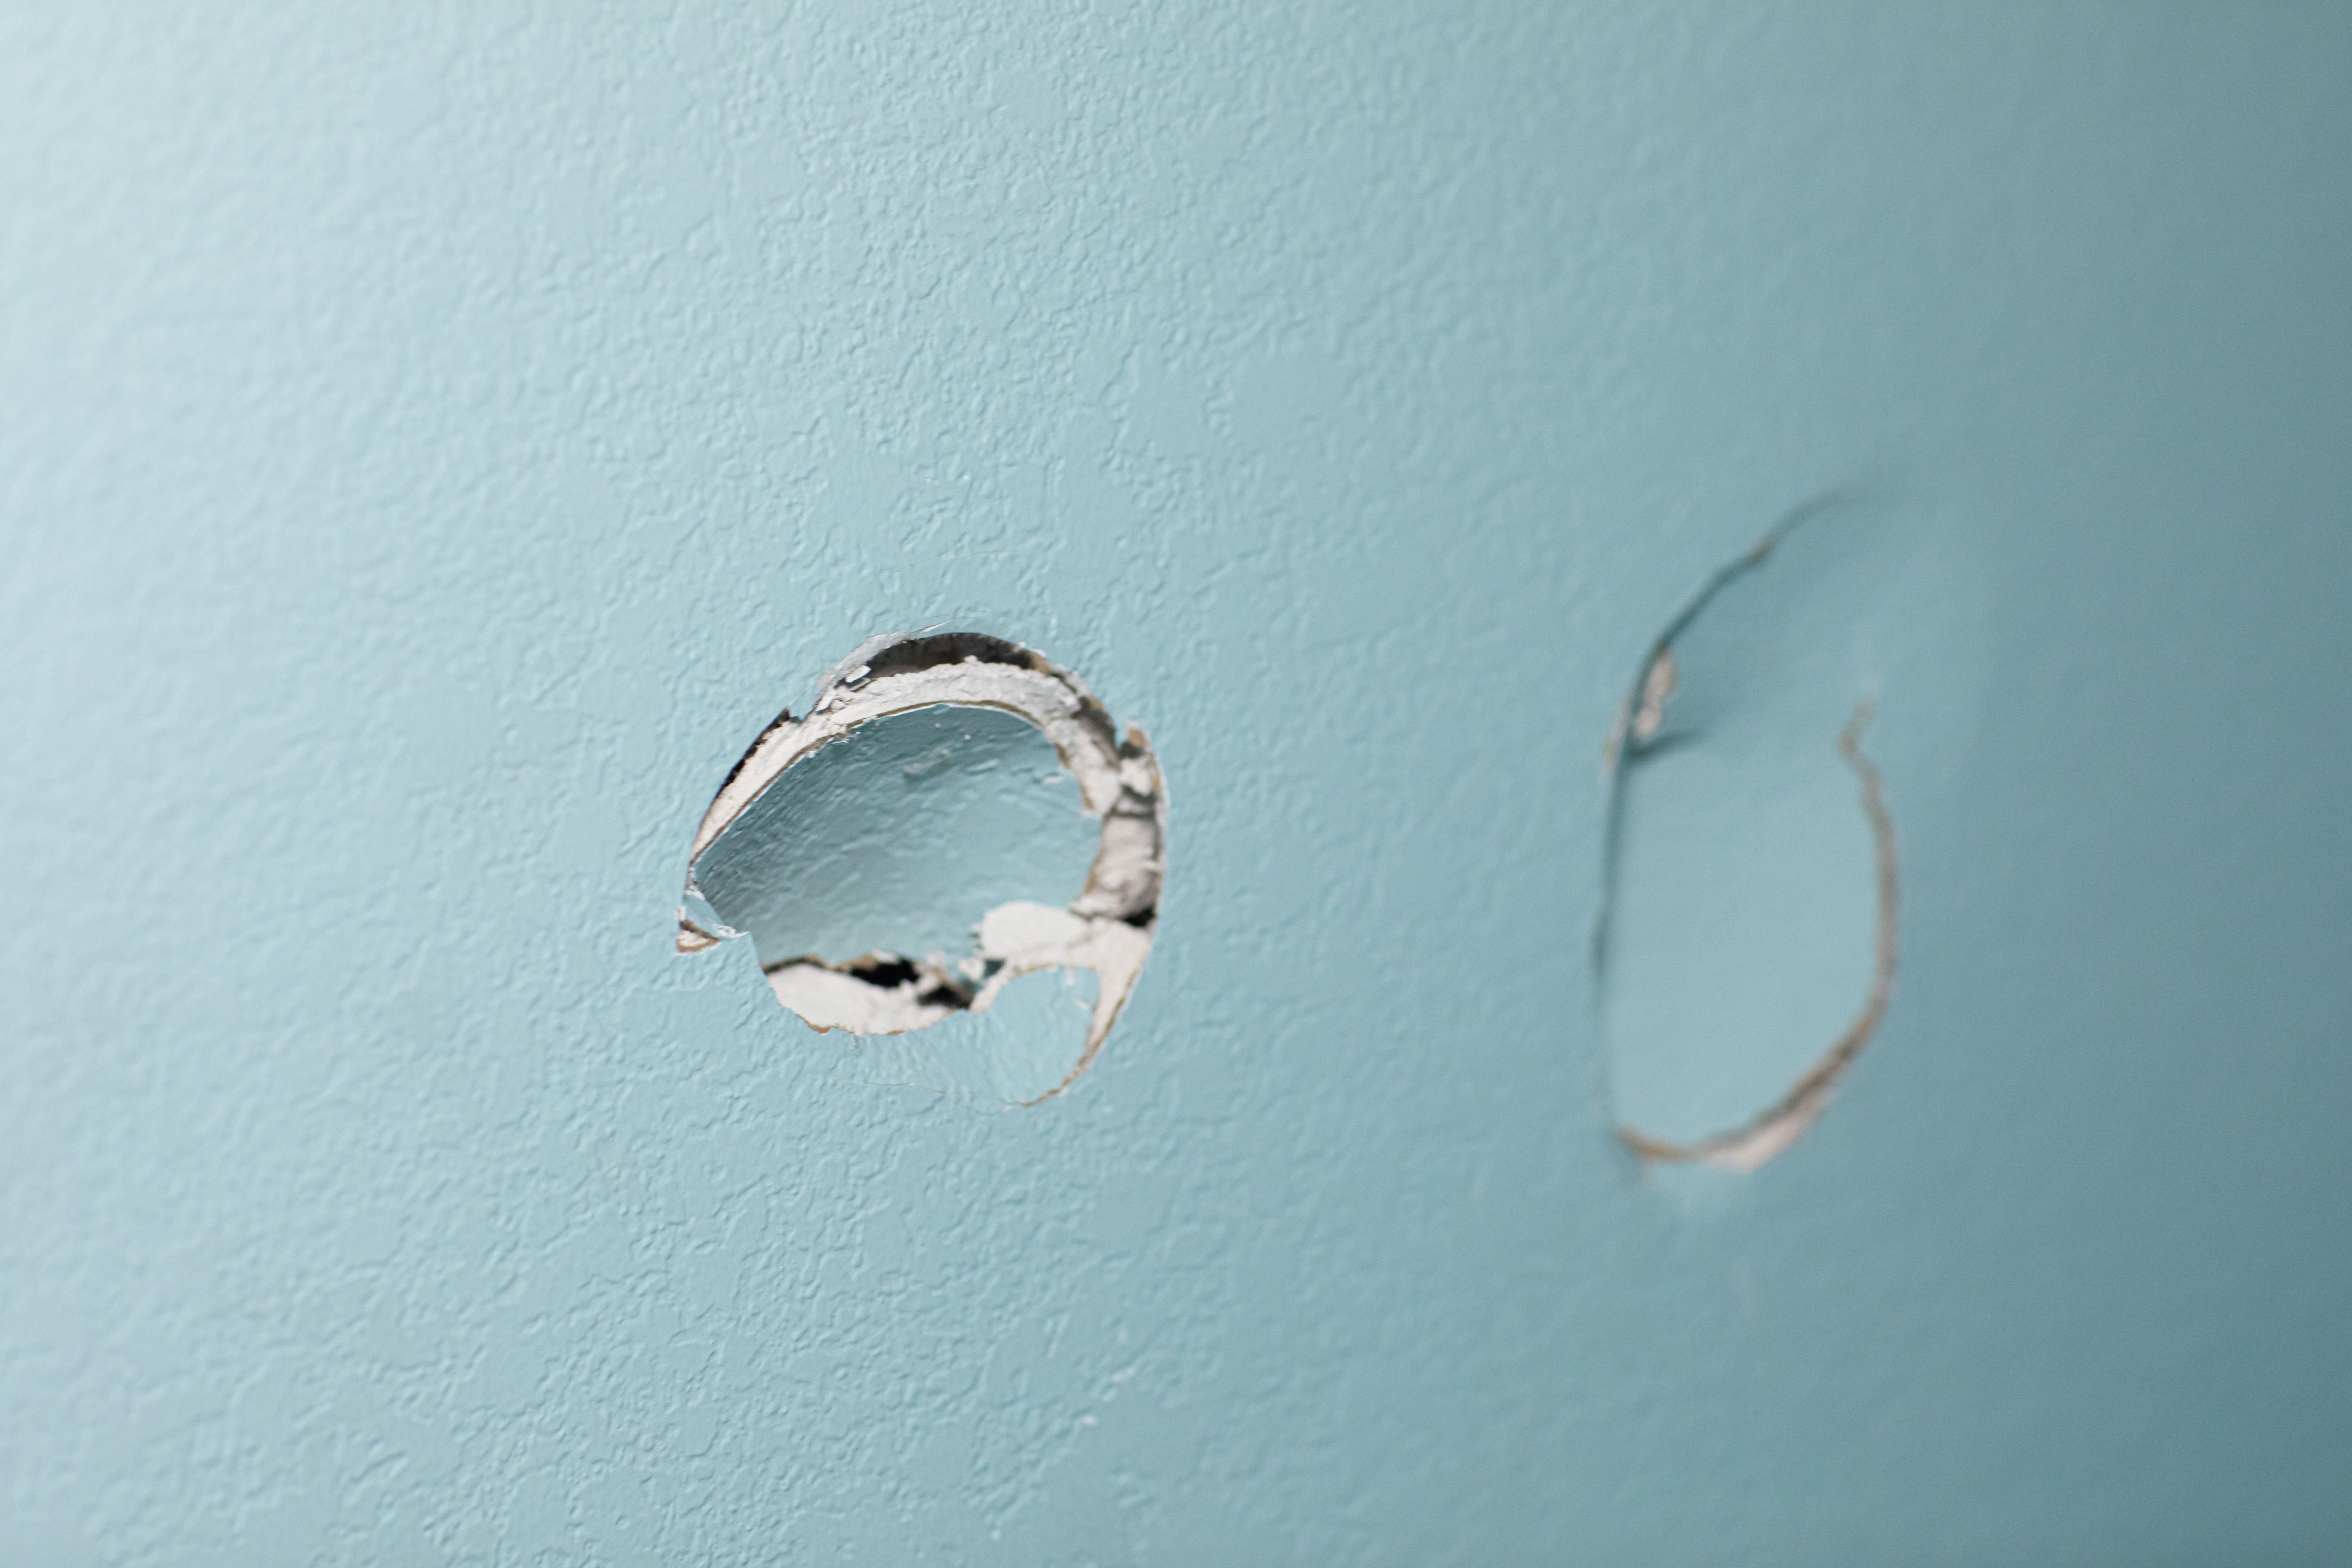
Before you start painting, it's crucial to assess the current condition of your walls. Look for any cracks, holes, or peeling paint that need attention. Cleaning the walls thoroughly will help you identify these problem areas. Use a gentle detergent and water solution to remove dirt and grime.
Once the walls are clean, fill any holes or cracks with spackle or joint compound. Allow the filler to dry completely, then sand it smooth for a seamless finish. Proper preparation ensures the paint adheres well and results in a professional look.
Choose the Right Tools and Materials
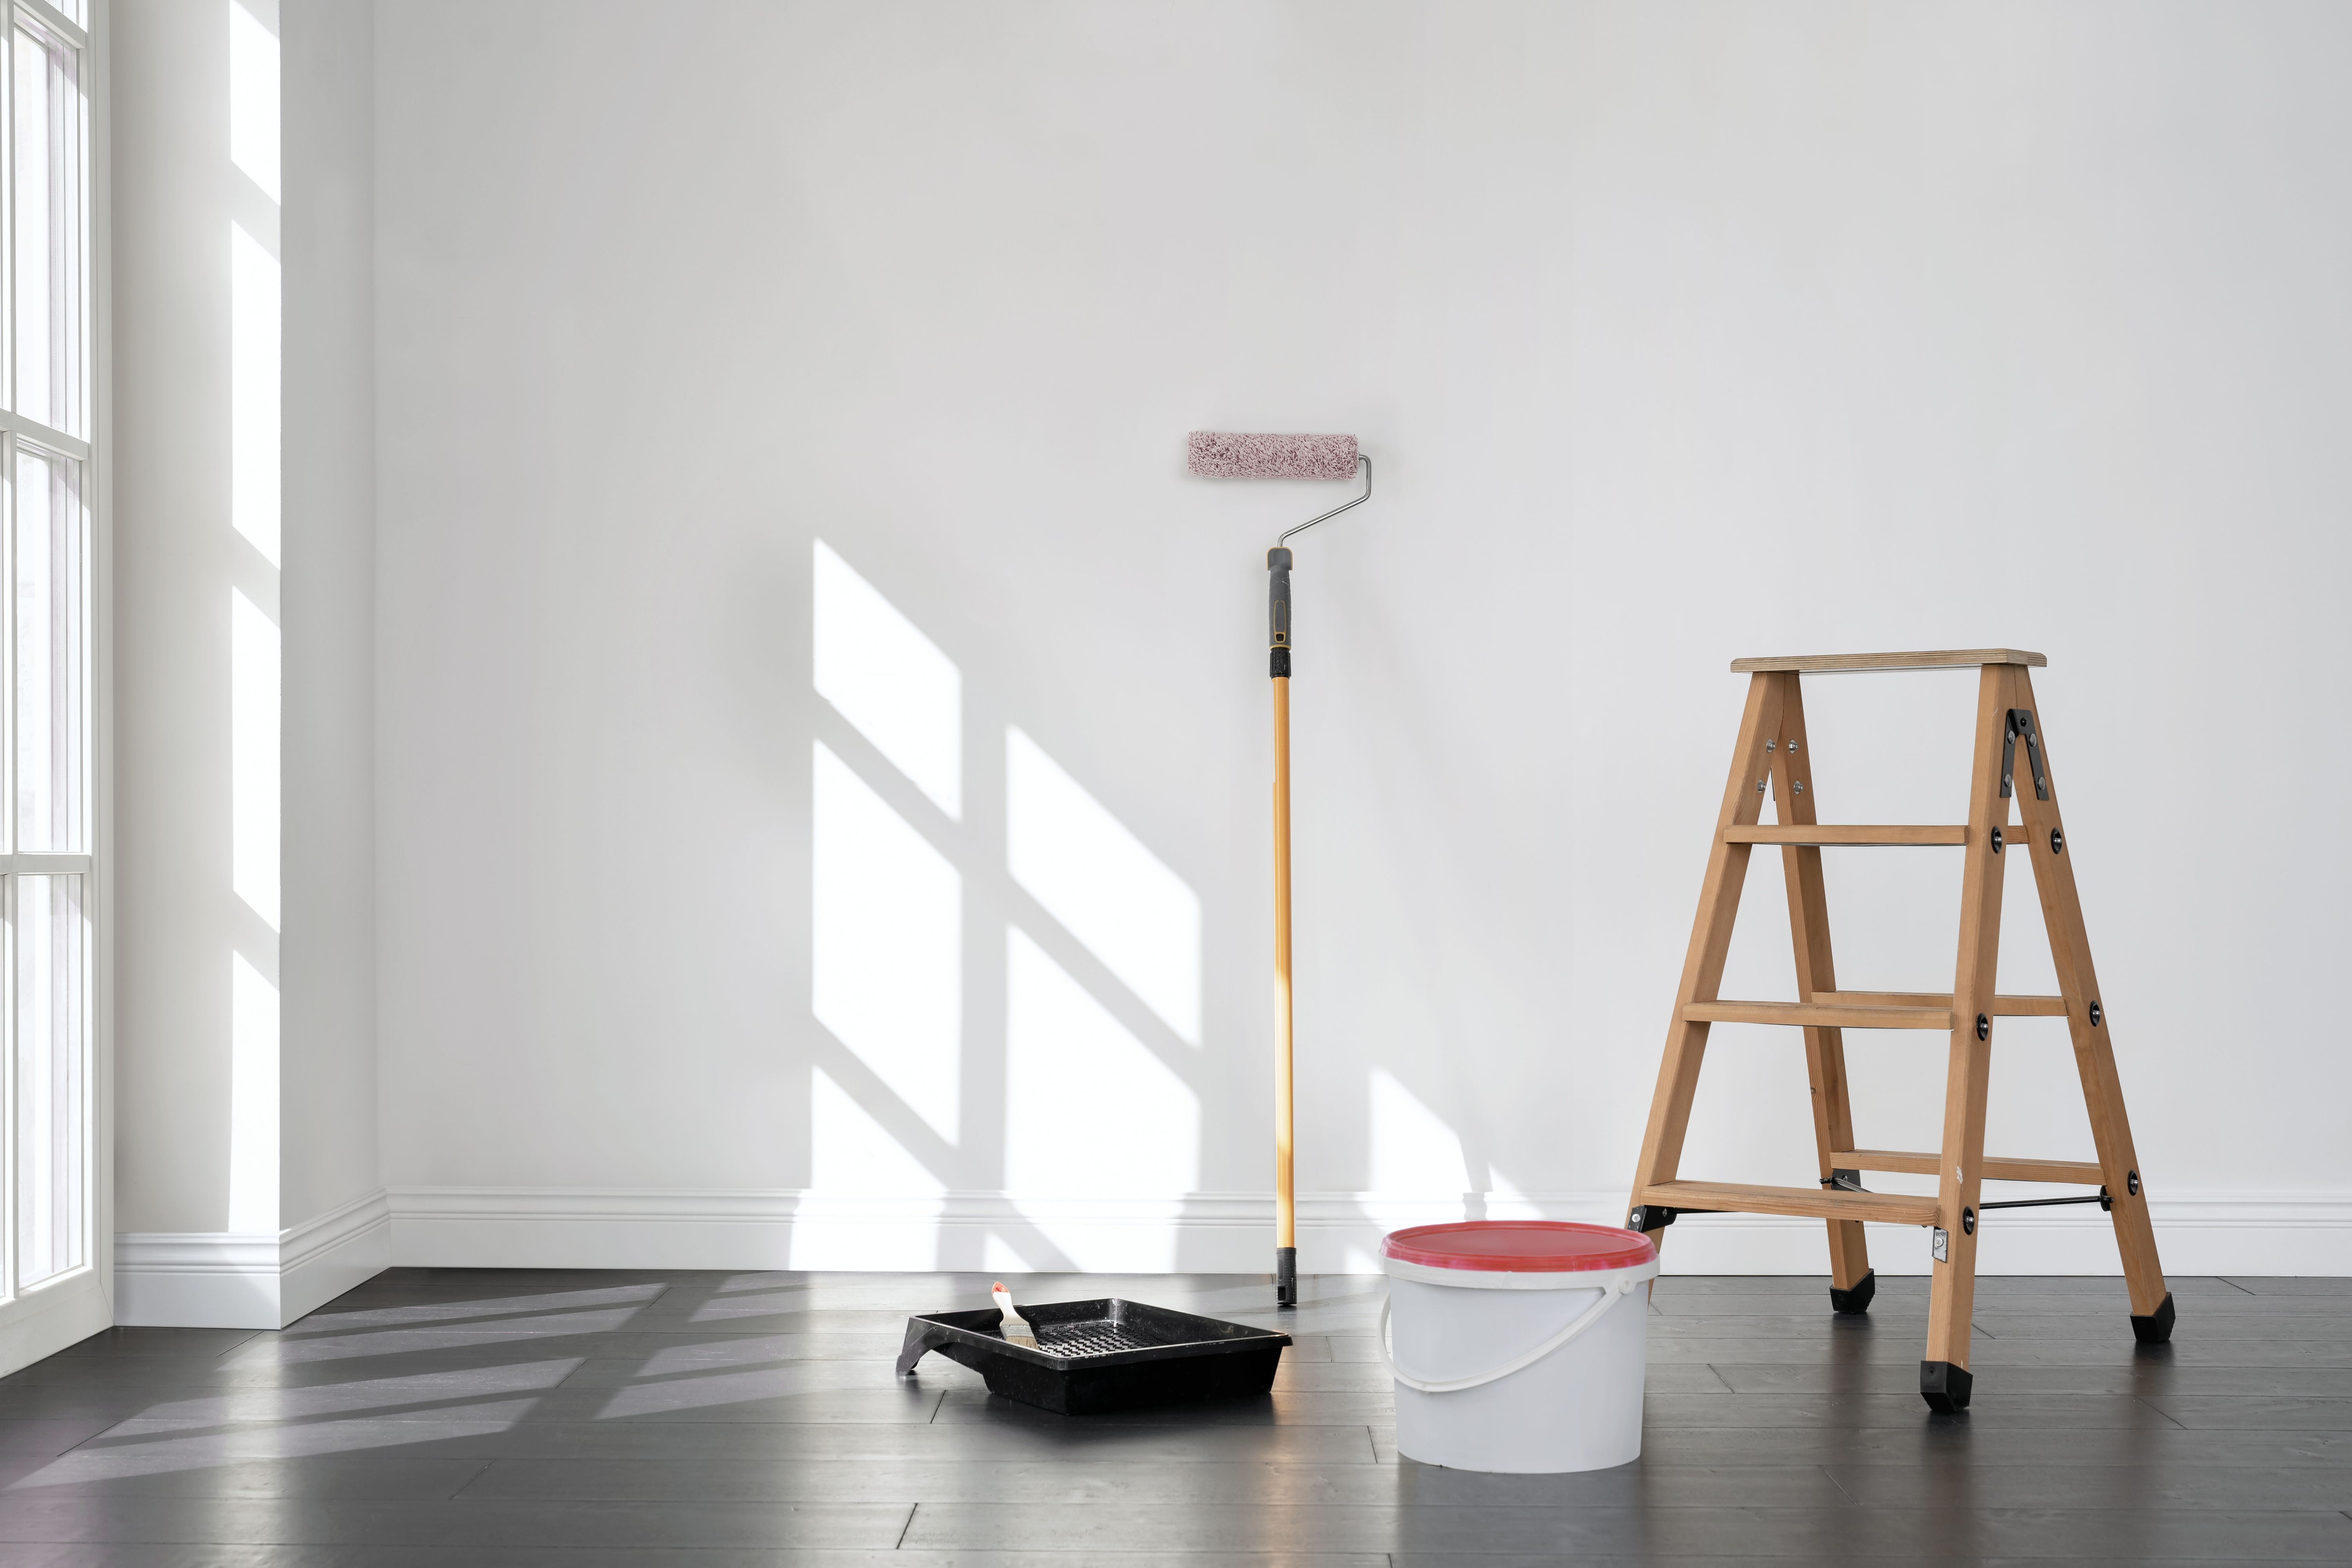
Selecting the right tools and materials is essential for a successful painting project. Invest in high-quality brushes, rollers, and painter's tape to achieve a smooth, even finish. Depending on the texture of your walls, choose a roller with the appropriate nap length.
When it comes to paint, consider the room's purpose and lighting. Matte or flat finishes hide imperfections well, while satin or semi-gloss paints offer durability and are easier to clean. Don't forget primer; it creates an ideal base for your paint color and improves adhesion.
Protect Your Furniture and Floors
Before you start painting, protect your furniture and floors from accidental drips and spills. Move furniture out of the room or cover it with drop cloths. Use plastic or canvas drop cloths to cover floors and secure them with painter's tape to prevent slipping.
Remove switch plates, outlet covers, and light fixtures. Use painter's tape to mask any areas you don't want painted, such as baseboards and window frames. Taking these precautions can save you time and effort during cleanup.

Master the Art of Cutting In
Cutting in is the process of painting the edges and corners of a room where rollers can't reach. Use an angled brush for precision, and work slowly to avoid mistakes. Start by painting a straight line along the edge of the ceiling or baseboard, then feather it out slightly into the wall.
Practice makes perfect when it comes to cutting in. Take your time and use painter's tape if necessary to ensure crisp, clean lines. Once you're comfortable with cutting in, you'll be ready to tackle larger areas with confidence.
Apply Paint Like a Pro
With your walls prepped and edges cut in, it's time to start painting the larger areas. Use a roller for even application and work in small sections. Apply paint in a "W" pattern, filling in the gaps as you go to ensure even coverage without streaks.
Allow each coat of paint to dry completely before applying additional coats. Generally, two coats are sufficient for a smooth finish, but darker colors may require more. Patience is key to achieving a flawless result.

Final Touches and Cleanup
Once you're satisfied with the coverage, remove painter's tape while the paint is still slightly tacky to avoid peeling. Carefully reattach switch plates, outlet covers, and any other fixtures you removed earlier.
Tidy up your workspace by cleaning brushes, rollers, and any other tools you used. Properly dispose of any leftover paint and materials according to local regulations. With everything in place, stand back and admire your freshly painted room!