DIY Drywall Repair Tips from Toronto Painting Experts


Understanding Drywall Damage
Drywall is a common material used in homes for walls and ceilings, but it can be prone to damage from everyday activities. Understanding the type of damage, whether it be small holes, dents, or cracks, is the first step in repair. Identifying the issue correctly will ensure that you choose the appropriate technique and materials for the job.

Essential Tools and Materials
Before you start the repair process, gather the essential tools and materials. You will need a utility knife, drywall saw, sandpaper, joint compound, and a putty knife. For larger repairs, you may also require a drywall patch or replacement piece. Having everything ready will streamline the process and ensure a more professional finish.
When selecting materials, make sure to choose a high-quality joint compound and sandpaper. The quality of these materials can greatly affect the final look of your repair. A smooth, even surface is key to a seamless finish.
Repairing Small Holes and Dents
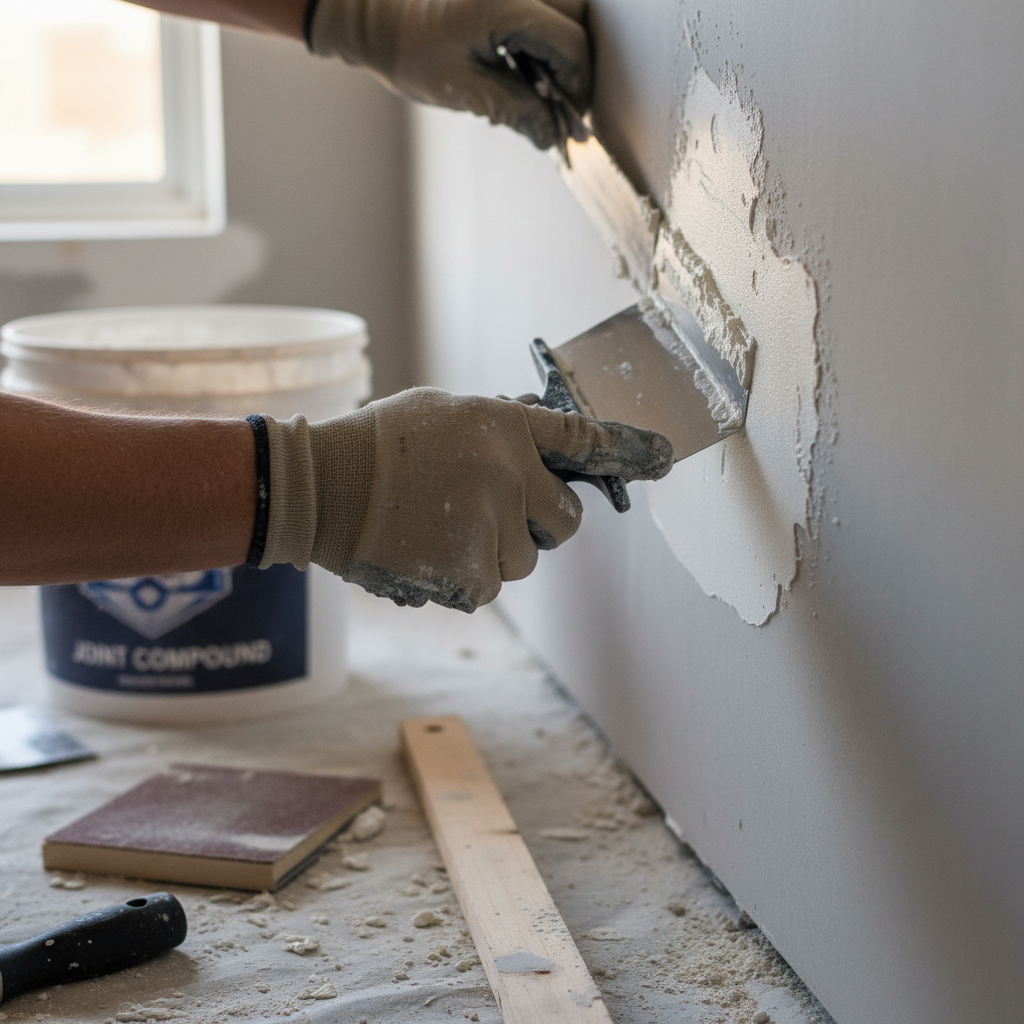
For small holes and dents, a simple patching process can often suffice. Start by cleaning the area and removing any loose debris. Apply a thin layer of joint compound over the hole, then smooth it out with a putty knife. Allow it to dry completely before sanding it down to a smooth finish.
Once sanded, apply a second layer of compound if necessary. This ensures the repair blends well with the surrounding wall. Ensure the area is smooth before proceeding to painting.
Fixing Cracks
Cracks in drywall often require a bit more attention. Begin by widening the crack slightly with a utility knife to create a V-shaped groove. This allows the joint compound to adhere better. Apply the compound with a putty knife, filling the groove completely.
After the compound has dried, sand it to a smooth finish and apply a second coat if needed. Sand again once dry, ensuring the repair is flush with the surrounding area.
Dealing with Larger Holes
Larger holes may need a drywall patch for a proper fix. Cut a piece of drywall that matches the size of the hole. Secure the patch with drywall tape and apply joint compound over the tape, feathering the edges to blend with the existing wall.
Finishing Touches
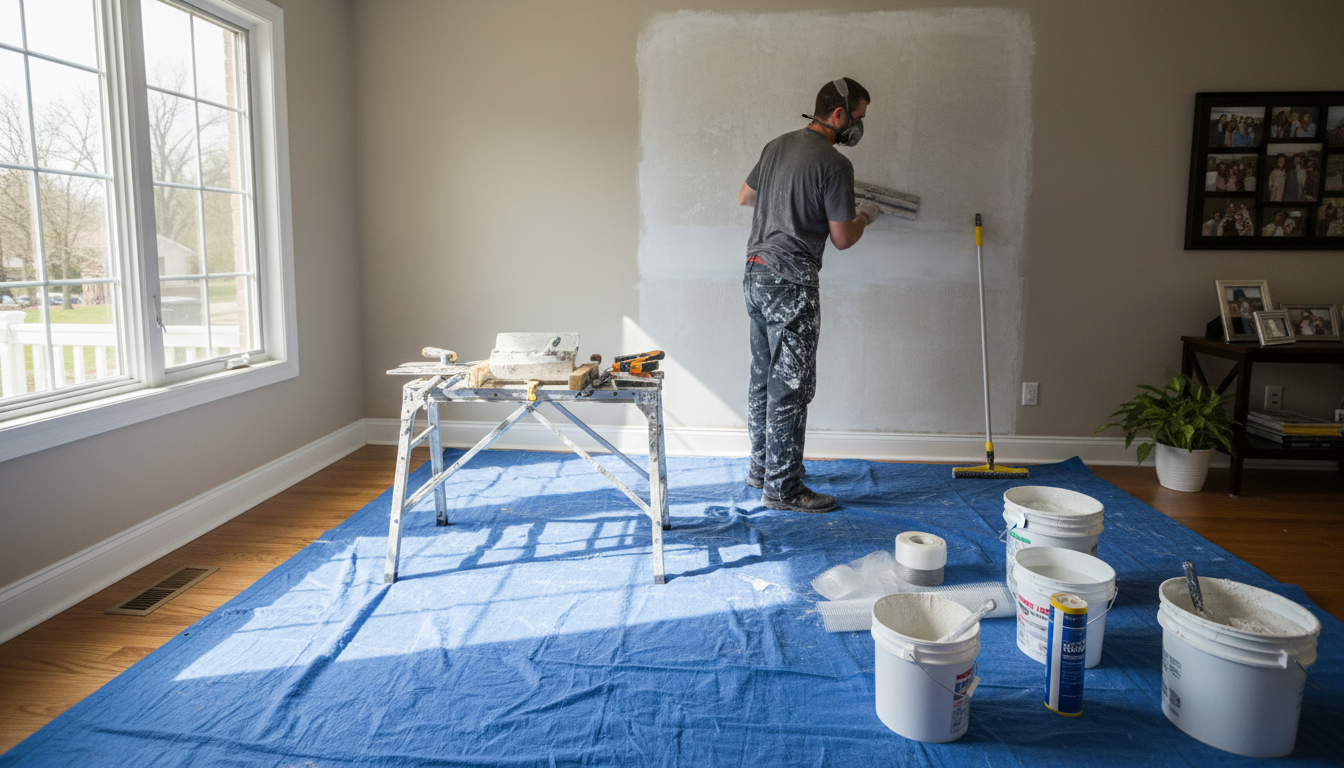
Once all repairs are complete and the surface is smooth, it’s time to paint. Choose a paint that matches your existing wall color. Apply a primer first, especially on areas with a lot of compound, to ensure even coverage.
Finish with a coat or two of paint, blending it well with the surrounding wall to achieve a seamless look. A successful drywall repair should be virtually invisible once painted.
When to Call a Professional
While many drywall repairs can be tackled as a DIY project, there are instances where professional help is advisable. If you’re dealing with extensive damage or lack the time and tools for a quality finish, hiring a professional painter can save you stress and ensure a flawless result.
Remember, a well-executed drywall repair not only improves the appearance of your home but also maintains its structural integrity.