A Beginner's Guide to DIY Drywall Repairs and Plastering


Getting Started with Drywall Repairs
Whether you're dealing with a hole from a door handle or some minor wear and tear, drywall repairs are a common task for homeowners. Learning to fix these issues yourself can save money and give you a sense of accomplishment. In this guide, we'll walk you through the basics of DIY drywall repairs and plastering.
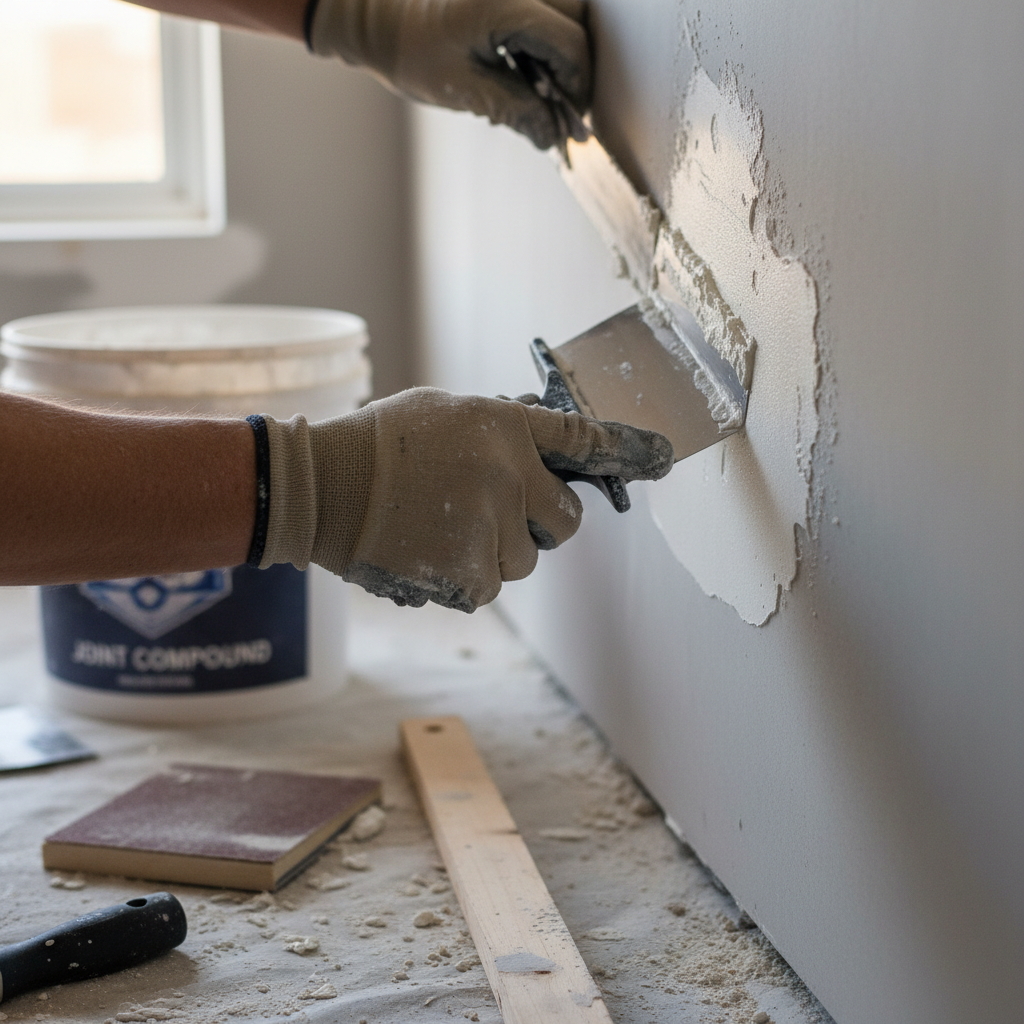
The first step in any drywall repair is to assess the damage. Examine the area closely to determine the size and severity of the problem. For small holes, a simple patch kit will suffice, while larger holes may require additional tools and materials. Make sure to gather everything you'll need before starting the repair.
Essential Tools and Materials
Having the right tools and materials is crucial for a successful repair. Here's a list of what you'll need:
- Utility knife
- Drywall saw
- Joint compound
- Drywall tape
- Sandpaper
- Putty knife
With these items on hand, you'll be well-prepared to tackle most drywall repairs.
Step-by-Step Repair Process
Once you've gathered your materials, it's time to get to work. Follow these steps for a smooth repair:
- Cut away damaged drywall using a utility knife or drywall saw.
- Measure and cut a new piece of drywall to fit the hole.
- Secure the new piece with drywall screws.
- Apply drywall tape over the seams.
- Spread joint compound over the tape, feathering the edges.

Allow the joint compound to dry completely before sanding the surface smooth. You may need to apply a second coat of compound to achieve a seamless finish.
Plastering for a Professional Finish
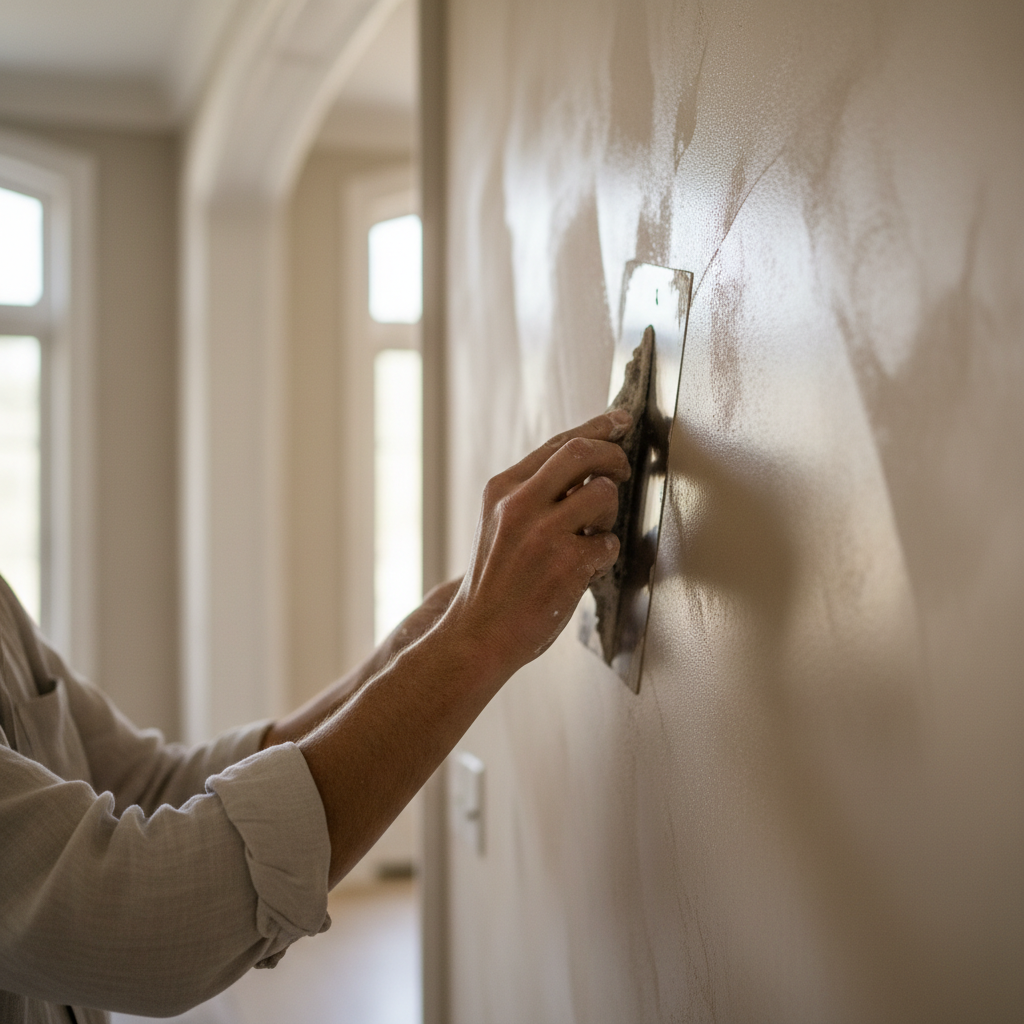
Plastering can elevate the look of your repaired wall, giving it a professional finish. Mix the plaster according to package instructions, and apply it with a trowel in thin layers. Ensure each layer is smooth before applying the next.
For beginners, it may take a little practice to master the art of plastering. Be patient, and don't hesitate to sand down any imperfections between layers.
Final Touches and Painting
Once your plaster has dried, it's time for the finishing touches. Sand the surface to ensure it's completely smooth, then wipe away any dust with a damp cloth. Prime the area with a drywall primer before painting to ensure an even finish.
Choose a paint that matches the rest of your wall, and apply it in thin, even coats. Allow each coat to dry fully before applying the next.
By following these steps, you'll be able to handle drywall repairs and plastering with confidence. Remember, practice makes perfect, and each project will improve your skills. Happy repairing!